
Controls & Shortcuts
Here is a quick list of basic controls you can use to navigate your project in VoxEdit and many helpful shortcuts.
Within All VoxEdit Modules
Menu Bar
 Pop Out Panels
 Screenshot
 Shortcut Guide
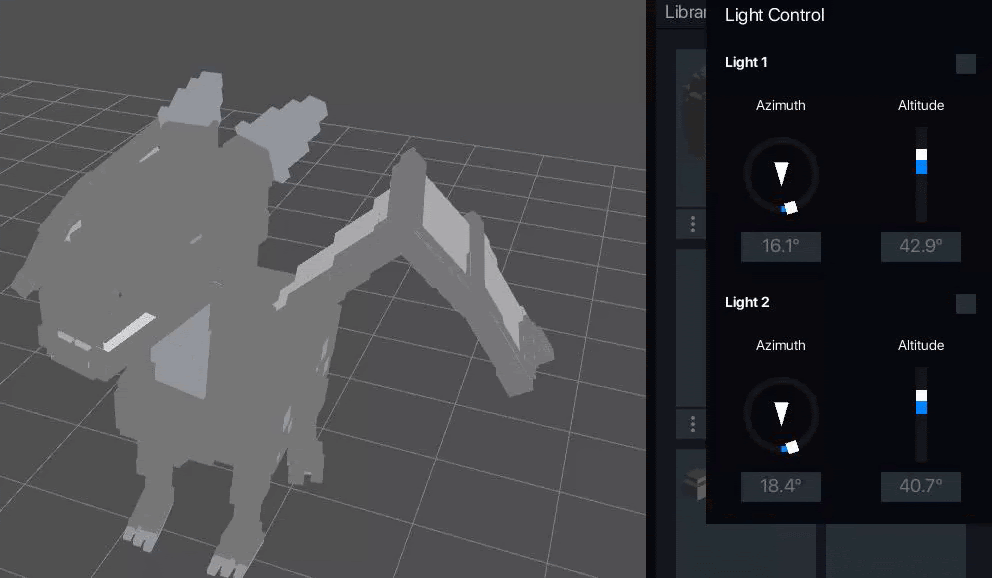
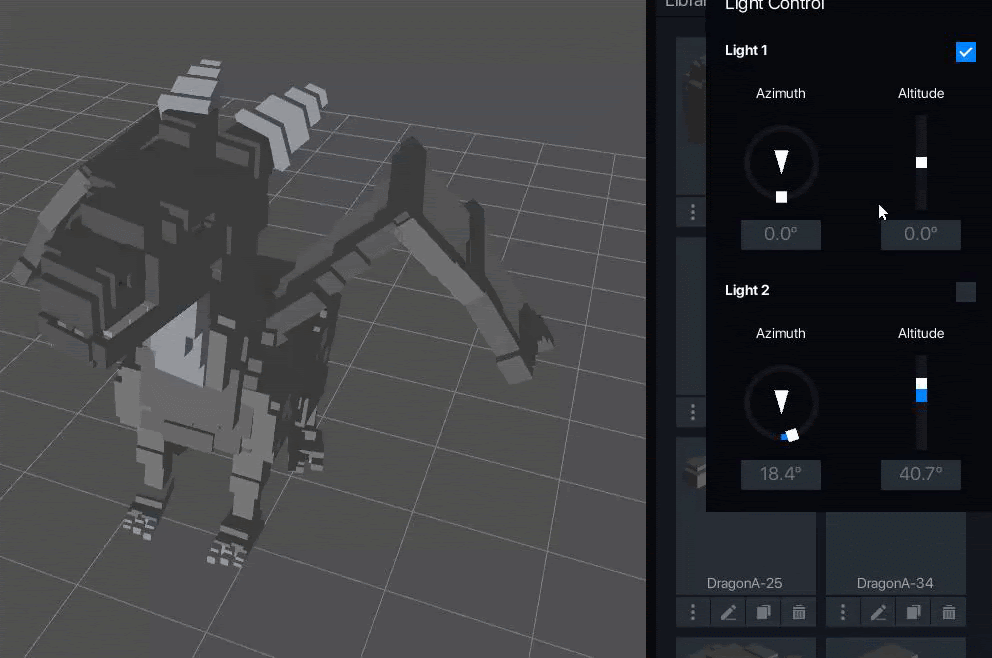
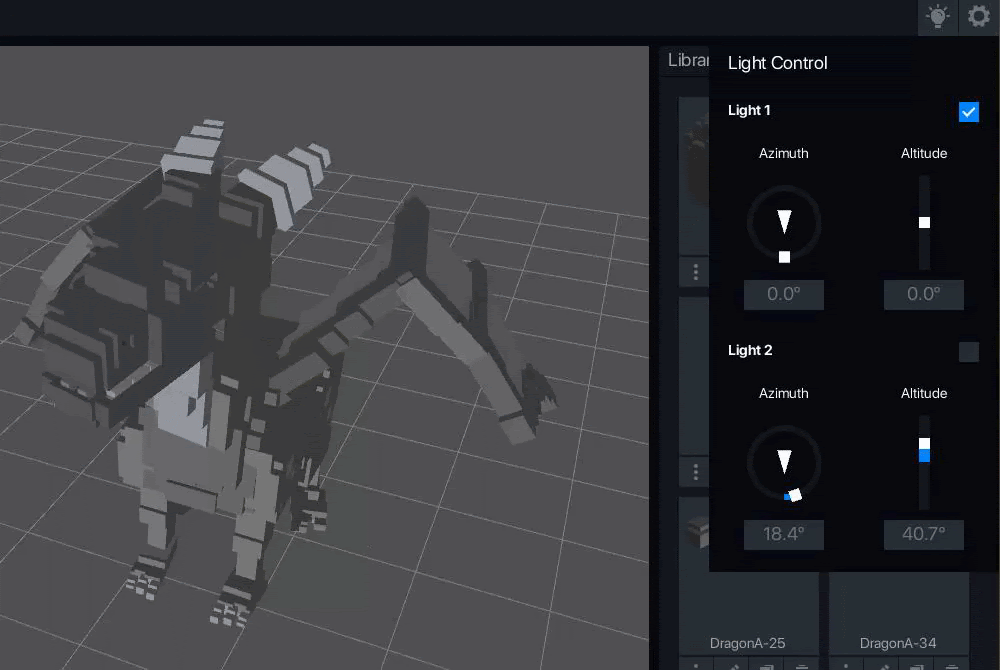
 Light Controls
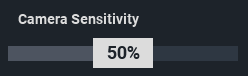
 Camera Sensitivity
最終更新