
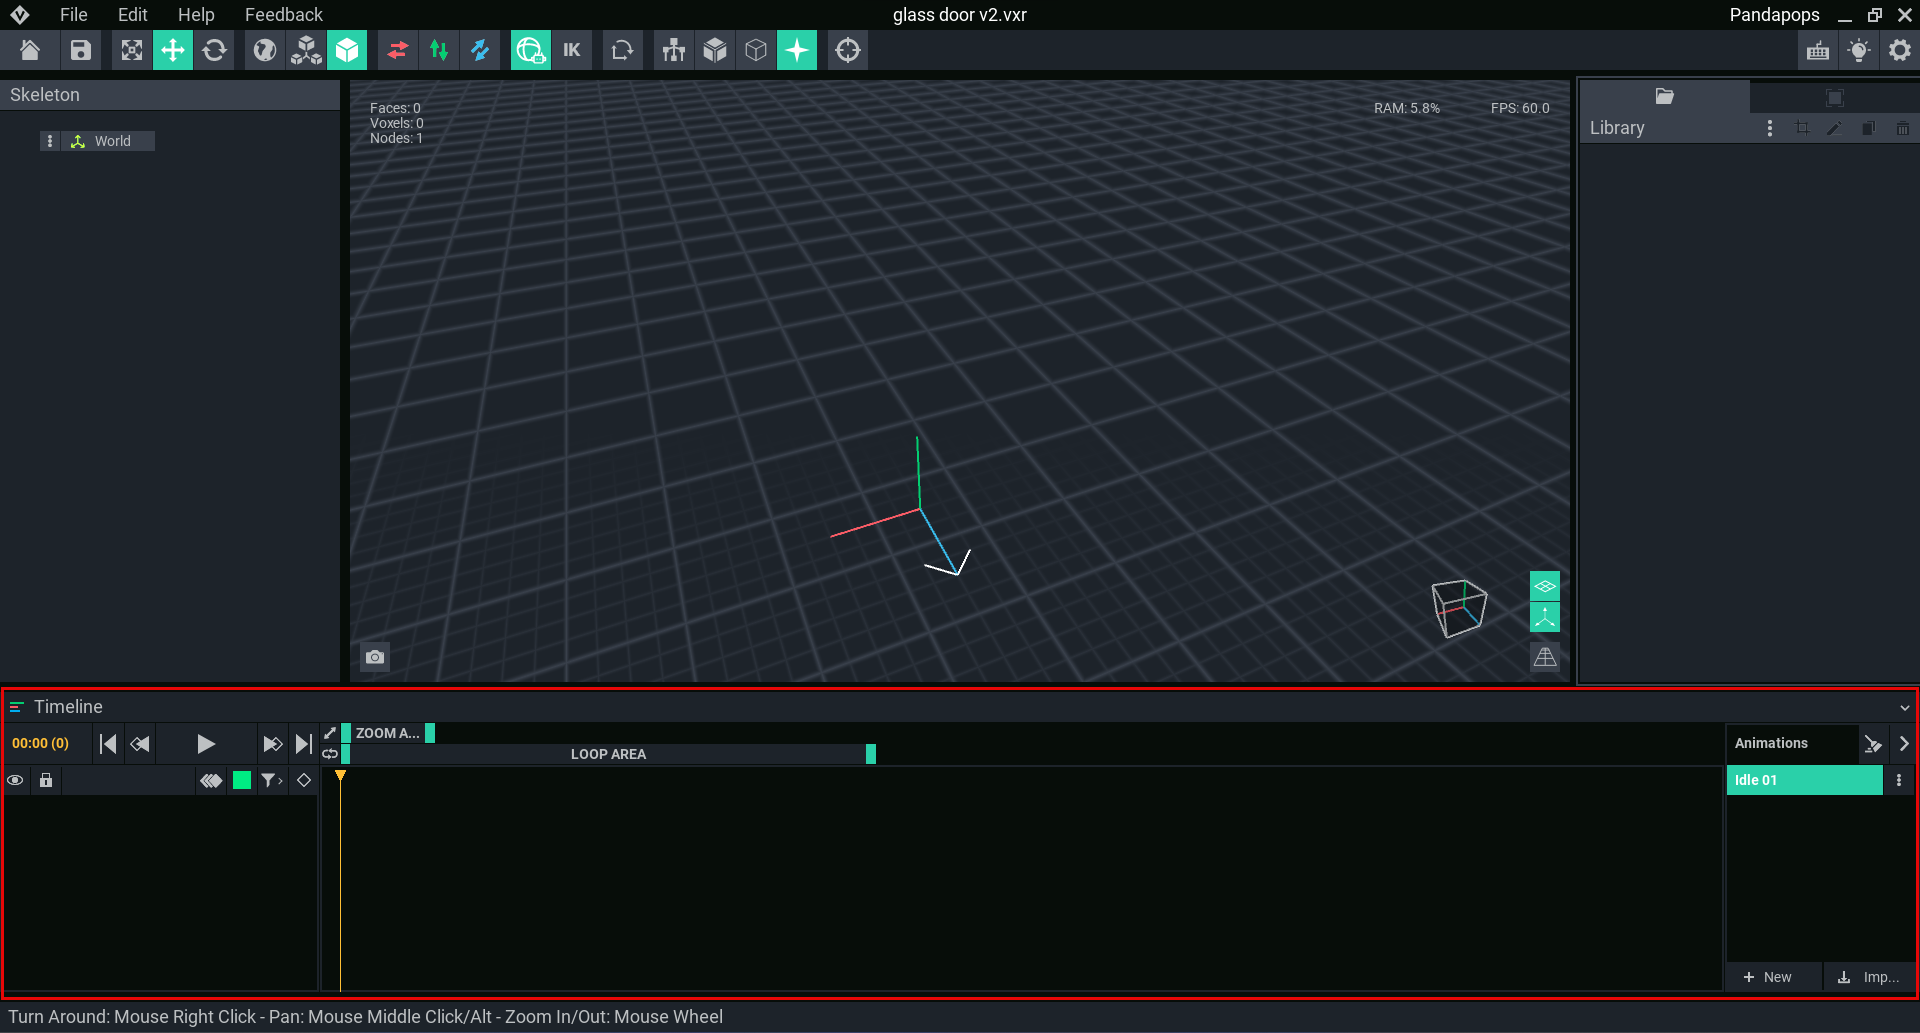
Motion: Animator Timeline Panel
In the timeline, we can begin creating an animation by choosing one or many nodes and recording a keyframe.
These keyframes record the position and rotation of a node at that specific point on the timeline, and then, if there is a difference in positioning between two keyframes, computes the motion from one keyframe to another.
Each tick mark along the timeline is a frame and every 24 frames in one second. It's setting this motion over time, that creates movement and forms the basis of our animation.
The first frame is always a keyframe, this is the starting position for your objects.
Moving the play-head to a new frame, you can create a new keyframe by pressing the diamond button or simply moving an object.

Timeline
VoxEdit supports animations up to 20 seconds in length. Each second is 24 frames: “0” for the first frame, and the 24th frame becomes “1:00” (one second, zero frames).
The last available frame is “19:23” (nineteen seconds and twenty-three frames). The timecode display is all the way to the left of the Playback controls.
The timeline is divided into three strips - from top to bottom: Zoom Area, Loops Area, and Timeline Ruler. The timeline ruler displays a vertical dash for each frame (depending on how close you zoom in) and a number for each second.
Clicking on the ruler will jump the yellow play-head to the closest frame instantly.
You can also drag the play-head left and right to “scrub” through the timeline manually. Dragging past the edge of the timeline’s visible area will cause the timeline to scroll towards your cursor.
You can easily control how much of the timeline is visible with the Zoom Area strip.
The left handle sets the starting frame and the right handle sets the ending frame for what’s visible.
You can drag them to the extreme left and right positions to display all 20 seconds at once.
When you drag the handles closer together, you will zoom into the timeline to see individual frames better.
Dragging the area between the handles will scroll the view earlier or later in the timeline.
Clicking the diagonal arrow button will automatically zoom to fit all the keyframes in your animation.
The Loop Area strip is used to select a group of frames to replay without playing the whole animation.
You can use this to focus on small portions of longer animations.
Drag the handles to the start and end frames of the area you want to loop, and then activate it with the eyeball icon.
Playback will automatically loop at the last keyframe if the loop area ends after the animation completes.
Animation Selector
By default, your rig file comes with an “idle.vxa” animation file.
The VXR (rig file) stores the names of all the nodes, their hierarchy, and the VXMs (model files) attached to them.
The VXA stores the transformations (position and rotation) of each node on the first frame and any keyframes after that.
Deleting the VXA files out of your project folder will make all the nodes reset to position 0,0,0 the next time you load your asset!
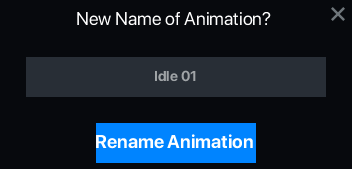
Note that the Game Maker does not currently play idle.vxa animations in a loop.
If you want your default animation to repeat, you need to rename it “Idle 01” (capitalization and space are necessary).
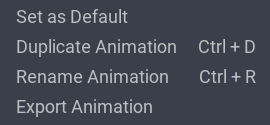
Clicking on the three dots next to an animations name will show the menu to rename, duplicate, set as default and export animation.
The button at the bottom of this section will add a new animation, with all nodes set in the current position as the first frame.
This is helpful for creating animations that start where the last one left off, like a door closing animation from where the open stopped, or chain attack combos.
If you need more horizontal space to display the timeline, the animation selector can be collapsed with the right-facing triangle.
Animation Playback
While animating, it’s important to check how your animation looks at each stage of the process, so you can make corrections as you go.
With these controls, you will be able to play the current animation, either endlessly in a loop after pressing “play”, or frame by frame with the “next” button.
![]()
The timestamp on the far-left, displays the current frame, even if the play-head is not currently visible.
The outer arrows will jump you all the way to the first or last keyframe in your whole animation.
The inner arrows will jump to the previous or next keyframe.
And the middle button will play or pause the current animation.
When selecting a new animation, you will need to press play or move the play-head to update the 3D view.
You can even use the position held from the previous animation to copy translations to a key in the new animation timeline by clicking with the move or rotate tool!
Skeleton Bone
All of the bones in the skeleton will appear in the animation window one after the other ordered vertically.
Frame Counter
This indicated the current frame the animation is in.
The default markers for frames are set to 24 frames per second (24 fps), so at 01:00 seconds the counter will read as (24).
Visibility Toggle
To the far left of the Timeline, next to the Node name, is an 'eye' icon you can click that will allow you to hide the visibility of a node and its linked model.
Don't forget the invisible it is still part of the rig and can still be keyframed and exported.
Bone Animation Lock Toggle
This allows you to lock the node's animation frames. This is useful when you wish to prevent accidental modification of the finished animation of a node.
New Keyframe Button
When moving a bone, or node, in the viewport, you will automatically create a new frame, however, if you wish to manually create a new frame, you can do so by either clicking the diamond icon to add a Keyframe to all nodes in the animation or by clicking the three dots to the right of the node name and selecting '+ Create New Keyframe' from the drop-down menu.
Keyframe Interpolation Band
You have different options when it comes to choosing how the animation will play.
When there are two consecutive keyframes (A and B) with different positions (Keyframe A is on the left, and Keyframe B is on the right) how the node moves position along the path from A to B needs to be calculated, and this is referred to as interpolation.
This interpolation is represented on the Timeline by a square with a line through it, halfway between the two keyframes.
Simply by clicking the bar between the keyframes you are given some options. Linear, Ease in, Ease out, Long rotation and others.
If two consecutive keyframes are exactly the same, they won’t have interpolation and won't have the square with the line through it in between them.
Interpolation Variations
Last but not least, you can right-click on the interpolation band between two keyframes to see the different interpolation types.
These are represented by a range of lines from straight to stepped and curved, and each variation changes the way in which the location and movement of a node are calculated as it moves from one keyframe to the next.
A straight line will average out the position between two keyframes to produce an even consistent movement, whereas a curved line may move slower at the start and end of the movement, but accelerate through the middle.
Using and understanding these variations is important for creating different kinds of motion, and can mean the difference between an organic (animal or human) and mechanical (robot, machine) movement.
What is the Animation Off-set Function?
The animation off-set function is a time saving tool that allows you to change the position of a model in an animation without needing to manually modify every single motion keyframe individually.
Toggling the animation off-set button on enters a mode where you can adjust a model's position within an animation, which will translate to adjust all keyframes.

You are able to select an animation and then change the position of any of the models for that animations. Which will then translate the new position to all the keyframes. This is useful so artists don't need to manually change the position of every single keyframe.
Animation off-set only affects the selected animation, shown in the Timeline Panel.
If changes to your entity require moving a model in other animations, you WILL need to open each animation and edit with the animation off-set function.
You can find the animation offset function icon in the timeline panel. Image is shown below. It will be auto toggled into the "Off" state and you will be able to view that it is toggled "On" when the icon is highlighted.