Set Object Actions
This activity is included in an 8-part, 1 hour series to learn Game Maker. Short, focused topics with guided practice will give you practical experience building useful logic for creating games.
Begin Game Maker 4
Customize Object Behaviours & Tags
🟡 MEDIUM
In this activity, you will learn how to create custom interactions between objects using simple AI-driven behaviors and their tags, or identifiers. Behaviors that use AI decision making are programmed to detect and respond in certain ways depending on your modifications.
Default Settings
Prey & Predator
Place a "Stag" asset and apply Prey behavior. This includes the Prey tag.
Place a "Grey Wolf" asset nearby and apply Predator behavior. Predator tag is included.
Press
TABto Test:The Predator will detect the Prey and chase it.
The Prey will run when it detects the Predator up closer.
The Predator will chase any Avatar, or player, which is one of its default Tags to Attack.
Custom Targets
Plant & Prey
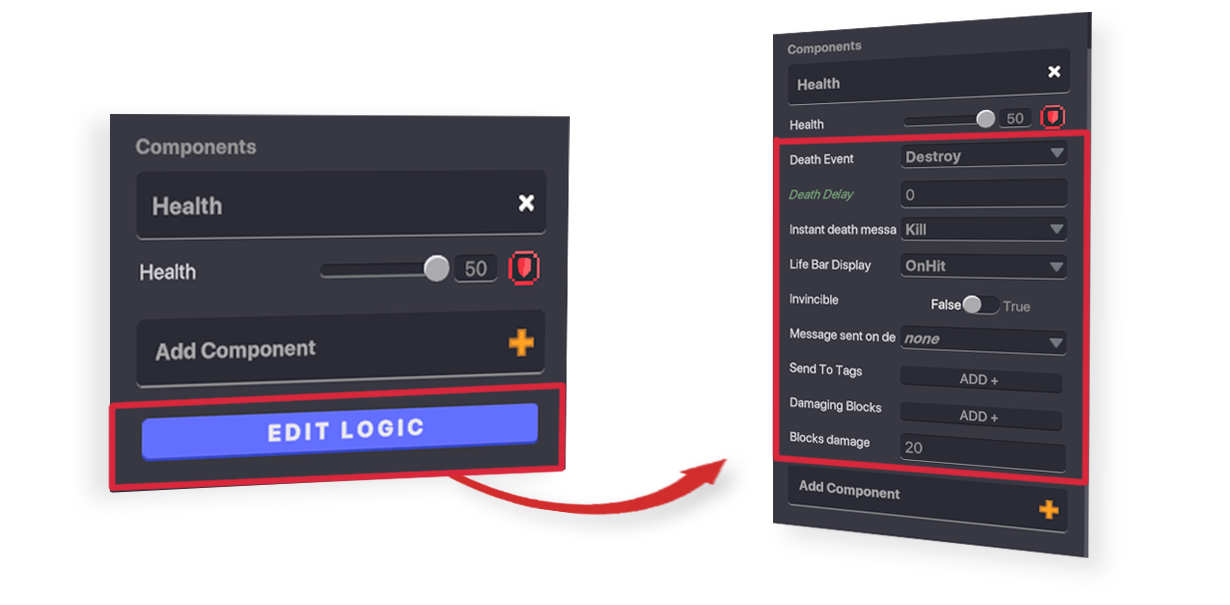
Select the Prey and notice that it has a Food Tag and Tags to Flee. Let's add objects with the Plant tag for it to detect.
Place a "Small Plant B" asset nearby and duplicate it. For one of them, apply the Plant component. Scroll to the bottom of the object's Properties, type the tag Plant (case sensitive), and press enter to apply it.
One plant has an identity so it can be "eaten" and the other is just a prop that won't be touched. Duplicate (
CTRL+D) both types and spread them in a small area.Press
TABto Test:Watch the Prey wander, approach objects it should eat, and make them disappear while ignoring the rest.
THINK OUTSIDE THE BOX
These behaviors are meant to be a function with flexible use.
Make an NPC collect trash using the Prey or Farmer behaviors by adding any custom tag as their food or gathering target.
Only add the custom tag to objects you want Farmer or Prey to remove.
Changing Tags During Play
Soldier & Citizen
Place an "Axeman Recruit" and apply Soldier behavior. Its default Tags to Attack includes Hostile.
Place an "Elder Caveman" with Citizen behaviour.
Press
TABto Test:You can't attack the Citizen because it has the built in tag Friendly.
The Soldier will ignore you until you attack, which will apply the tag Hostile to your Avatar for the rest of the game!
If you exit Play mode and re-enter it later, the game is reset, so the Hostile tag will be cleared from your Avatar.
Custom AI Interactions
Melee Enemy vs. Melee Enemy
GroupA
Place three "Maximilien" objects together. Select all of them and apply these changes in the Properties panel (which will change them all at the same time):
Apply Melee Enemy behaviour
Next to Tags to Attack, click the X to remove the Hostile tag, click
ADD+, and type GroupB in the text box.Scroll to the bottom of the Properties panel and apply the tag GroupA (remember to press
ENTER)
GroupB
Place three "Matthew" objects together. Select all of them and apply these changes in the Properties panel:
Apply Melee Enemy behaviour
Next to Tags to Attack, click the X to remove the Hostile tag, click
ADD+, and type GroupA in the text box.Scroll to the bottom of the Properties panel and apply the tag GroupB (remember to press
ENTER)
Press TAB to Test:
GroupA and GroupB will detect each other's tags and fight. Feel free to select these groups, duplicate them a few times, and create a small army of dueling NPCs! ⚔️
Follow Up
Combine a variety of AI-driven behaviors and use tags to direct their decision making. Explore these ideas and your own:
Want players to join a side in a battle? Add Avatar to any enemy's Tags to Attack.
Want fighters to be revived during battle? Use the Healer behavior with Tags to Heal.
There are many other behaviors to explore, but you've learned the basics of controlling object actions by applying behaviors and custom tags.
In the next activity, you'll create functional game logic with other behaviours and add components to make objects more interactive.
➕ Relevant Resource

Set an object's identity tags to customize actions and interactions. This is an important part of using logic in Game Maker, which starts with the next activity.

There are many more behaviours than what is included in this activity. See this page for a summary and general uses for all behaviours.

Learn about different parameter types built into behaviours and components so it's easier to customize logic.

Learn to use the Properties panel to view permanent and customizable aspects of a selected object or group of objects.

Organize your game flow with some simple sketches. We recommend some useful tools.
Forum: Community Ideas & Support
Other "Begin Game Maker" Videos
Last updated
Was this helpful?


