Templates
Templates are easily customisable source projects including equipment items and animated doors, buttons, and living things.
What Are VoxEdit Templates?
About Templates
Templates are a VXR project developed by The Sandbox Team to offer users resources to create high-quality assets compatible with every basic and advanced behaviour in the game engine and shape their ideas faster.
Templates are edited using VoxEdit's seamlessly integrated Animator and Modeler modules.
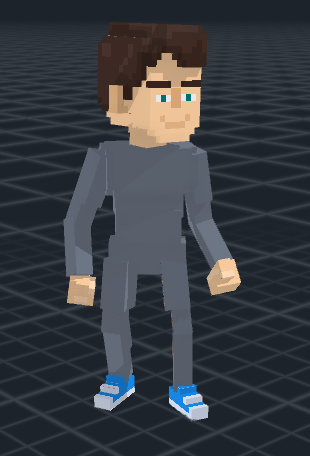
Example:
LEFT
Medium Human template
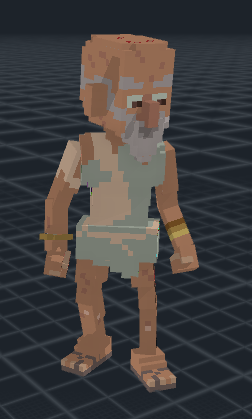
RIGHT
NPC (non-player character) asset made using the template The possibilities for customising templates is extremely vast!
Benefits of Using Templates
The Animator's tools are limited when editing templates to ensure that even an absolute beginner can make a complex, fully functional asset in a short time.
Assets made from templates include many skillfully designed animations made by The Sandbox Team and compatibility to receive future animation updates.
Templates Help All Creators
Beginner Skills
Create animated assets only using Modeler skills - no need to rig or animate!
Get more familiar with the Animator module
Intermediate Skills
Learn by example how assets are professionally rigged and animated
Practice rigging and animation skills on partially locked Equipment templates
Advanced Skills
Create high quality assets fast with templates
"Unlock" templates to reuse all or part of their rigs and animations when making assets from scratch
Maintain compatibility by only modifying the template's VXMs by shape, size, and colour.
ADVANCED: UNLOCKING TEMPLATES
Unlocking a template allows full editing access, including nodes and animations, but the resulting asset will no longer receive animation updates from The Sandbox and must follow guidelines to ensure proper functionality.
Access Templates
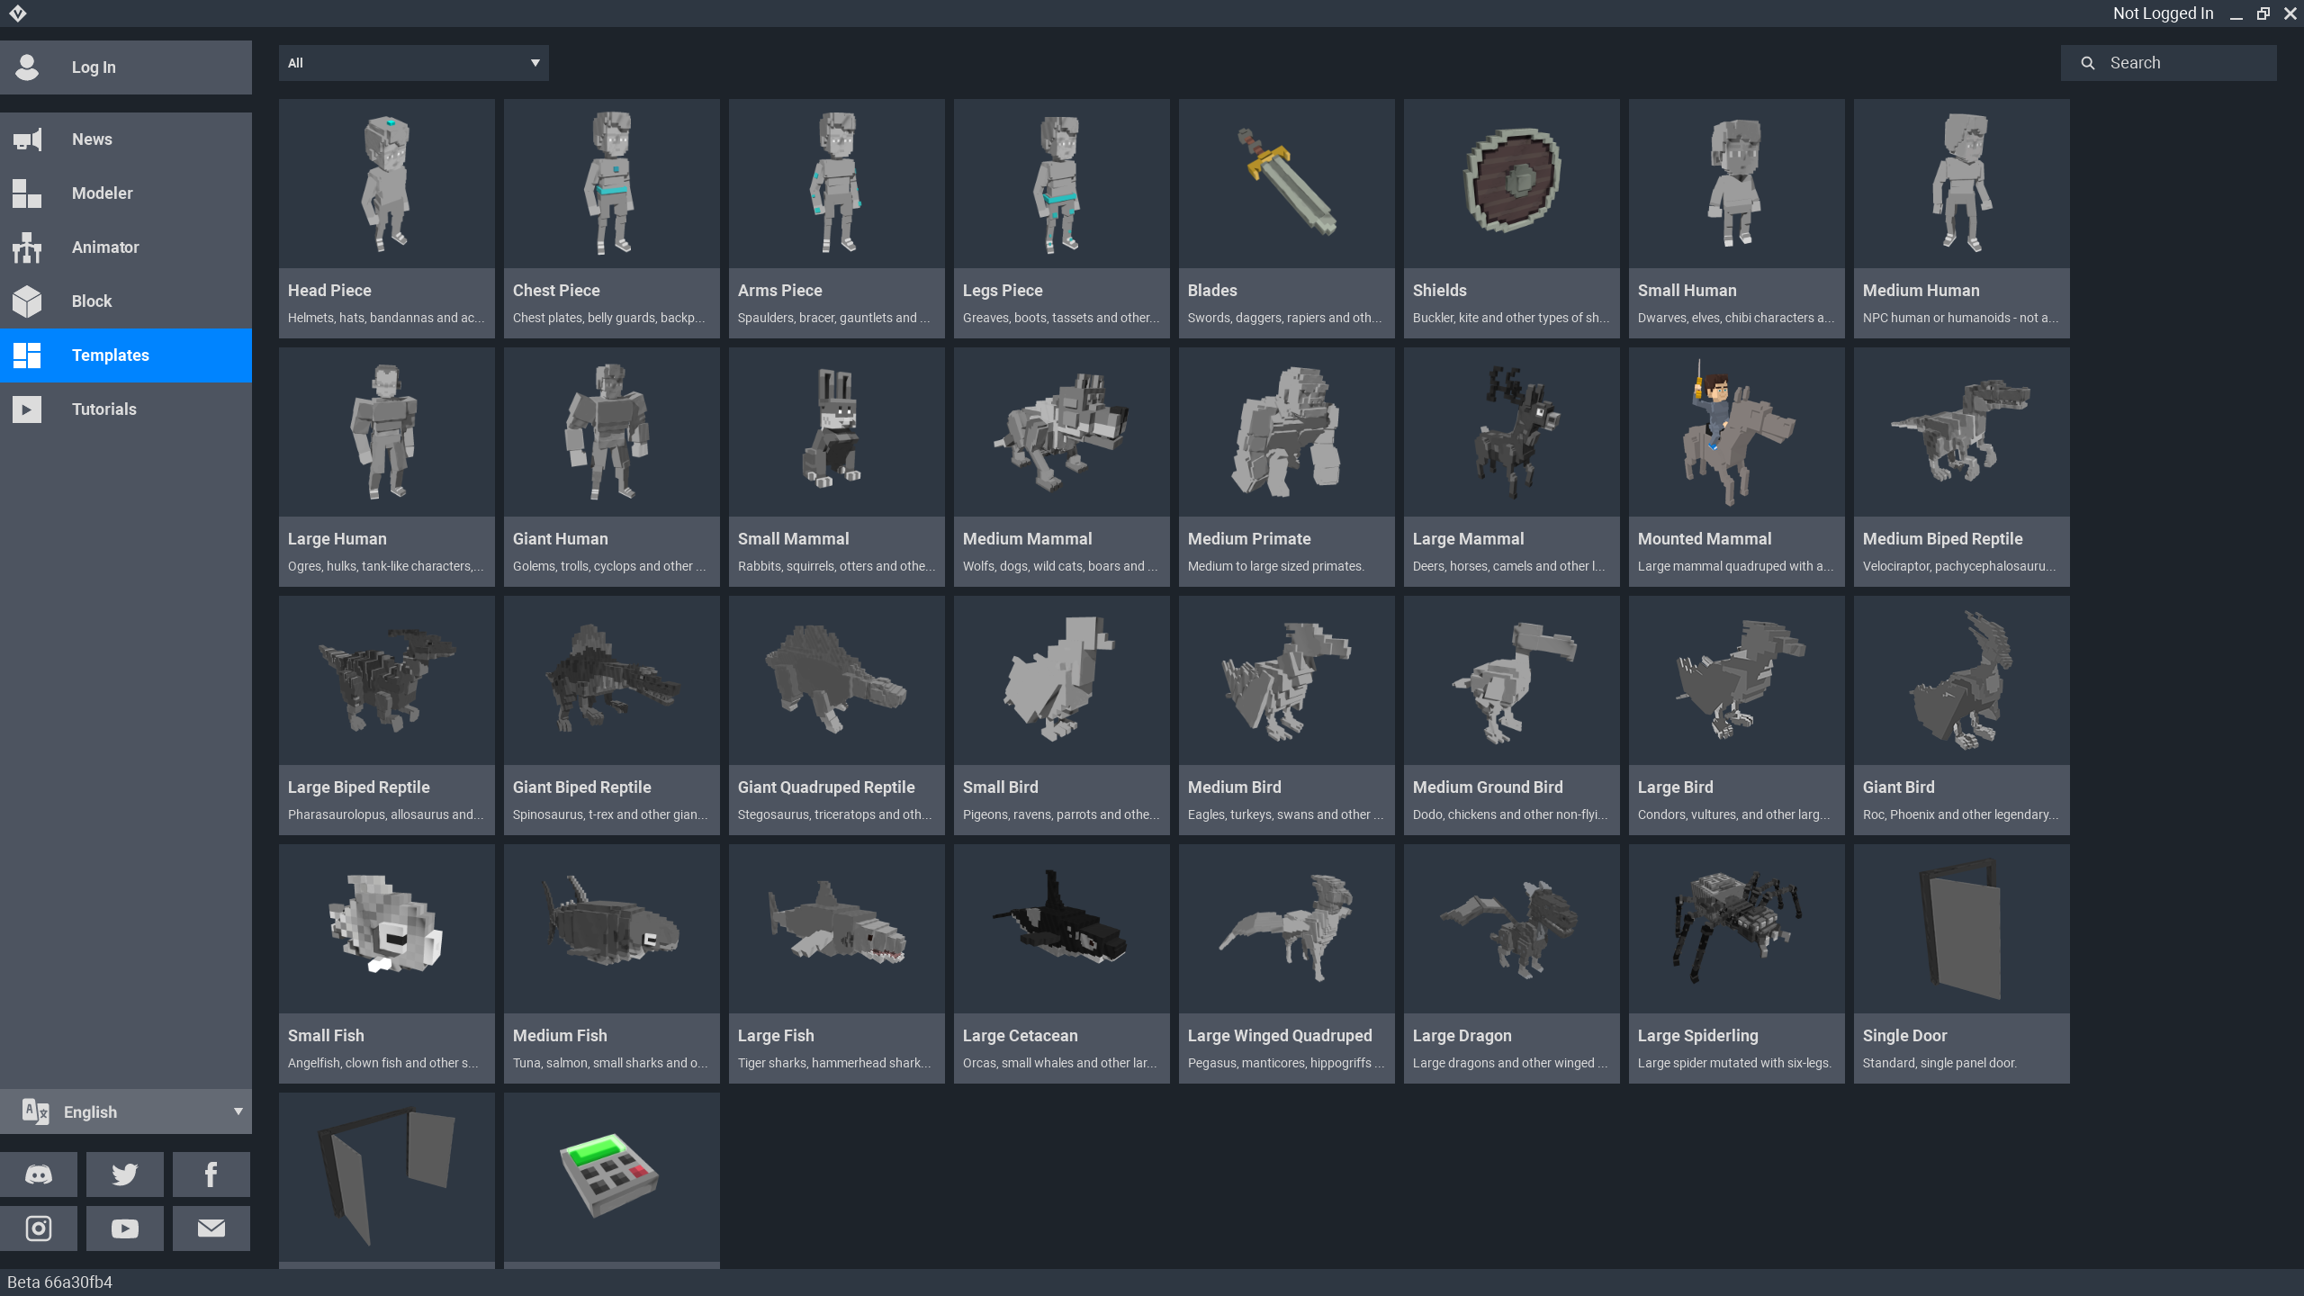
In VoxEdit's Home screen, select Templates in the left menu to begin a new project.
Choose a template in the list by selecting a thumbnail. Options include equipment, humans of different sizes, birds, fish, dragons, dinosaurs, and more!
A popup window will open to create a folder to store your asset's files. Name it and continue, and the template will generate a new project for you in the Animator module.
Limits with Templates
Below we've noted the differences in the Animator's tool functionality when editing a template.
Equipment templates are partially locked.
Library Panel - NOT Locked
✅ Customise Models
Import, edit*, copy, delete, and create new models *Model only shown
Skeleton Panel - Locked* *Equipment Templates allow some edits
✅ Replace Models in the Rig Drag and drop a different model onto a node (Skeleton Panel or Viewport) ✅ Edit Models Model and asset ghost shown ❌Node Customisation You can NOT modify nodes, except in Equipment Templates
Timeline Panel - Locked
✅ Quality Assurance
Select from the animation dropdown and play to test the asset in the Viewport for clipping, z-fighting, gaps, etc. ❌Animation Customisation You can NOT modify pre-made animation keyframes
Viewport - Locked* *Equipment Templates allow some edits
✅ Quality Assurance View animations for testing, check face count (also check node count for equipment templates) ❌Node Customisation You can NOT modify nodes, except in Equipment Templates
Special Type: Equipment Templates
Equipment templates are required to create a special asset class of items players can apply to their Avatars. The game engine will not recognise an asset as equipment unless it is made from one of the following templates: head piece, chest piece, arms piece, legs piece, blades, shields.

Unlike other templates, equipment templates can only have one animation (with or without motion), and allow you to add child nodes in the Skeleton Panel and create motion keyframes in the Timeline.
DO NOT UNLOCK EQUIPMENT TEMPLATES
Unlocking equipment templates changes the class of the asset from equipment that players can use to an entity, which can NOT be equipped by the player.
About Equipment Templates
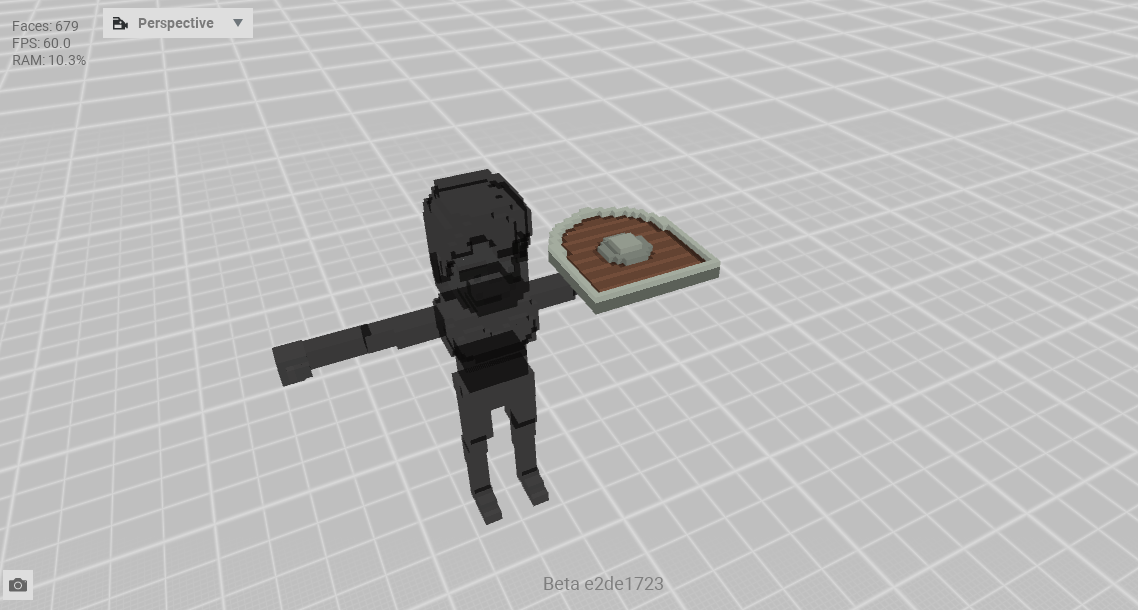
Choose which equipment template you wish to edit. The Viewport will display the default equipment models located on editable nodes and a greyed out avatar for size reference. Nodes related to the avatar are locked.
Which Nodes Can I Edit?
In the Skeleton Panel, any node with a ![]() three dot button can have a child node added, and you can import a hierarchy if you have a previously made design you wish to reuse.
three dot button can have a child node added, and you can import a hierarchy if you have a previously made design you wish to reuse.
The ![]() pen tool is also available on editable nodes, which allows you to modify the model linked to it, which shows the asset's ghost. Models in the Library also have this button, but only allow you to see the model itself, not the asset ghost.
pen tool is also available on editable nodes, which allows you to modify the model linked to it, which shows the asset's ghost. Models in the Library also have this button, but only allow you to see the model itself, not the asset ghost.
All other nodes that do not have these two buttons are locked and can NOT be edited, since they are not part of the actually equipment item being designed.
If a node can be modified in the Skeleton Panel, you can also adjust its position and rotation in the Viewport and create motion keyframes in the Timeline.
Nodes with equipment can NOT be moved to other areas of the skeleton since all other nodes are locked.
Blade and Shield Movements
When designing your equipment using a Blades or Shields template, consider the avatar's movements.
Blades Template Right hand - Avatar's attack, lunge attack, block
Shields Template Left hand - stationary
Equipment Visibility
Equipment can be used in both single and multiplayer Experiences, but it is only visible on medium human avatars due to fit on some newer avatars in different sizes.
Equipment Animation
1. Plan Your Asset
Open an equipment template based on the part of the avatar you want it to be used on. You can make wings using a chest piece template, an animated force field using a shields template, a staff using a blades template, and so on.
Look at which nodes can be edited and add child nodes according to your plan for shape and motion. If you're not sure where to place nodes to build a shape, create a model to use temporarily as a guide for the shape and break it down into parts.
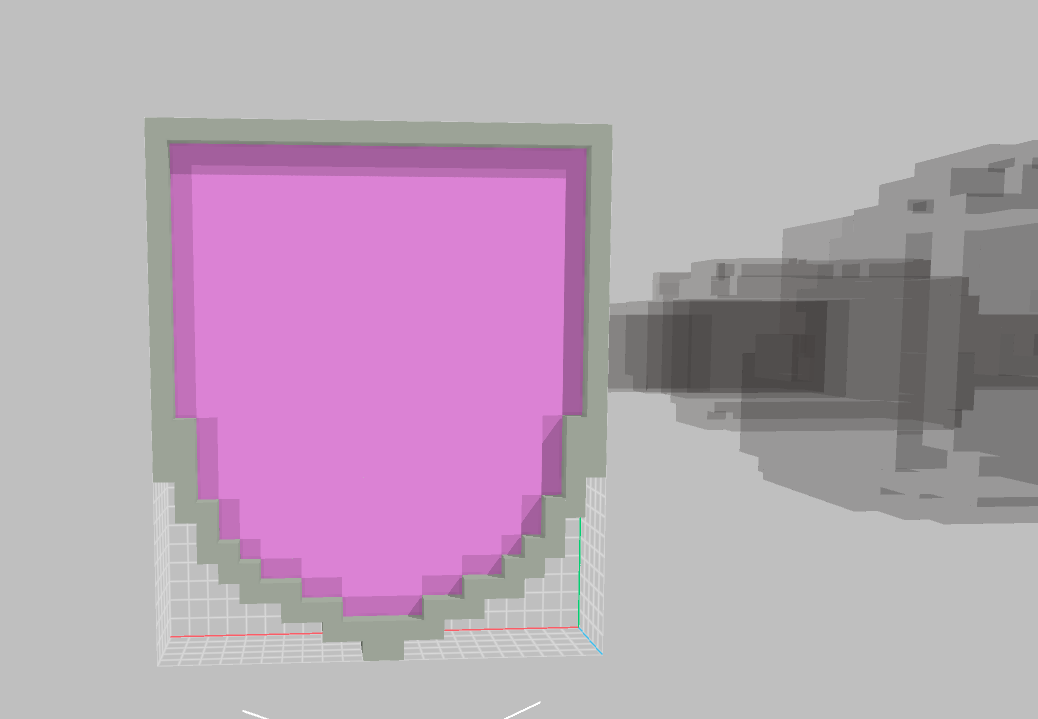
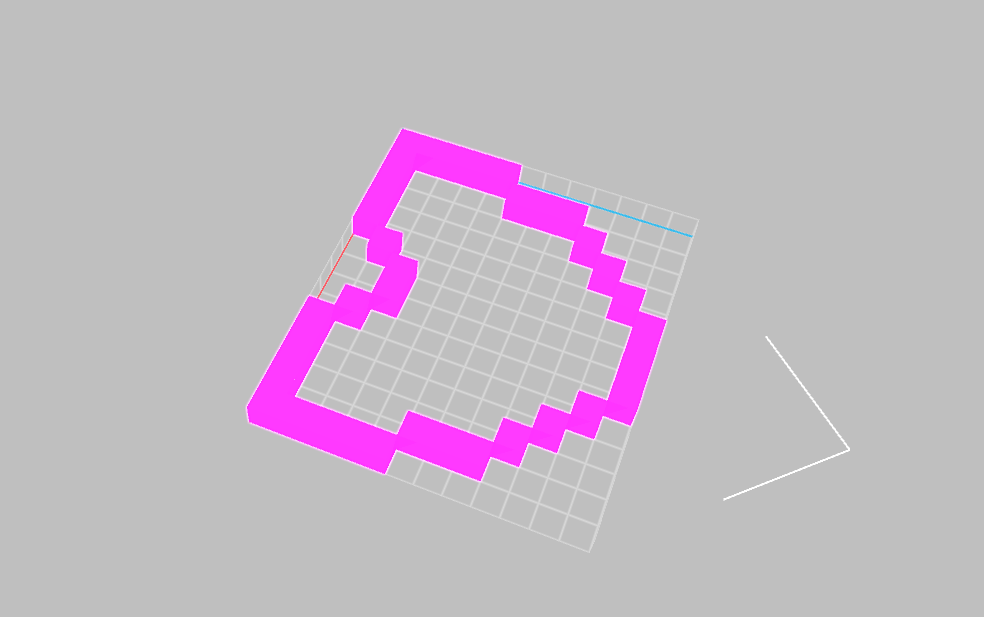
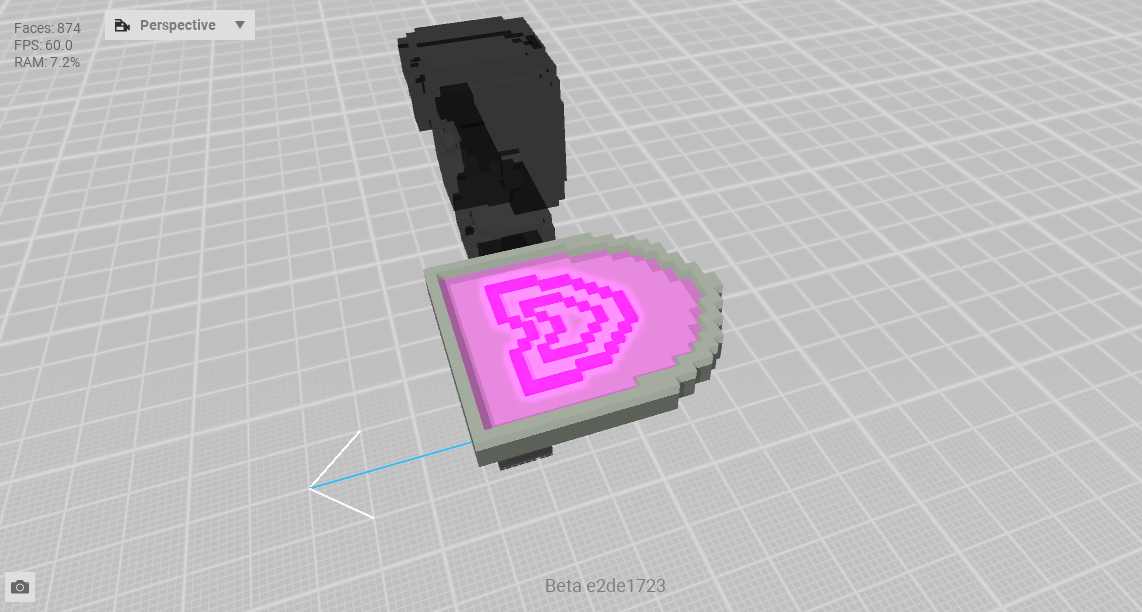
2. Modify or Create & Replace Models
Equipment templates have different default models you can edit or replace.
To edit a model, use the pen button on the model in the library or in the skeleton (Skeleton button recommended to view the asset ghost while editing).
To replace models, import or create new models if needed in the Library, then drag and drop onto the correct node(s) to link a model to a node.

3. Create Motion Keyframes (Animate)
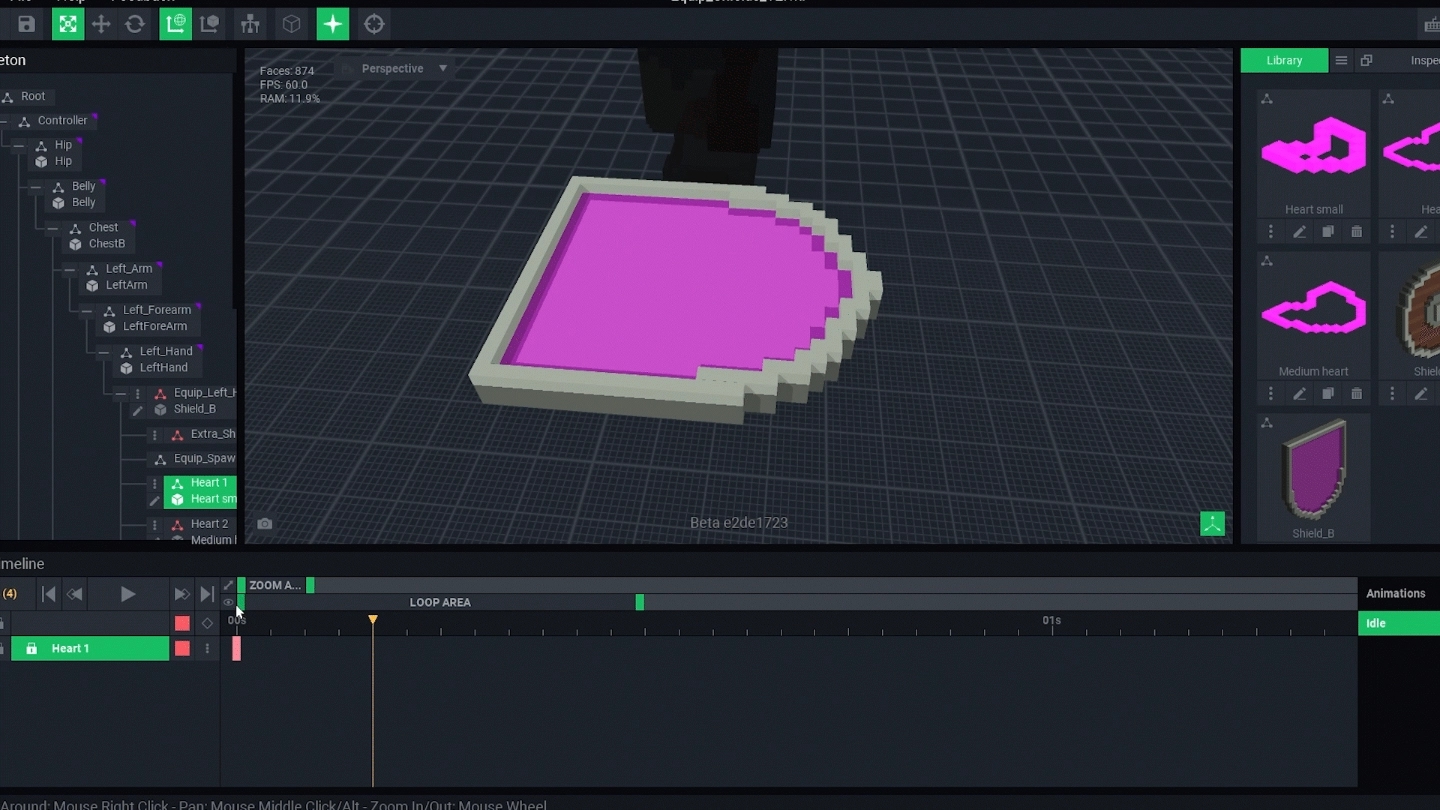
Move the playhead in the Timeline to the start position, 0. Move all nodes in the Viewport to the start position for the animation. Hint: Sometimes, you may want to hide models inside of others for a growing motion or surpise effect.
To create a motion keyframe, position the playhead to the desired time when you want a movement to be complete, then move a node in the Viewport to a desired position and rotation to reach by that time.
Each node has its own timeline row and can have multiple keyframes to determine its motion over time. Position the playhead and move models as needed to complete your animation.
4. Required: Close Animation
As with all animations, all nodes need to be closed at the same time. Position the playhead to the end of the last frame of the animation and press the diamond icon to quickly close all keyframes. This button is located in the left side of the Timeline at the top right of the list of nodes.
🔴Advanced: Unlock a Template
Unlocking a template allows you to modify all nodes and models, including animations.
DO NOT UNLOCK EQUIPMENT TEMPLATES
Unlocking equipment templates changes the class of the asset from equipment that players can use to an entity, which can NOT be equipped by the player.

What Does It Mean to Unlock a Template?
Unlocking a template is really about repurposing it in a separate project by importing its hierarchy in the Skeleton Panel. Since the project you'll create isn't actually associated with a template file, it will not be compatible to receive animation updates from The Sandbox.
However, this method is a HUGE time saver for creators who want to add more details to a template or repurpose it for a project with similar base structure and animations. The example below may have been created more quickly using this method.
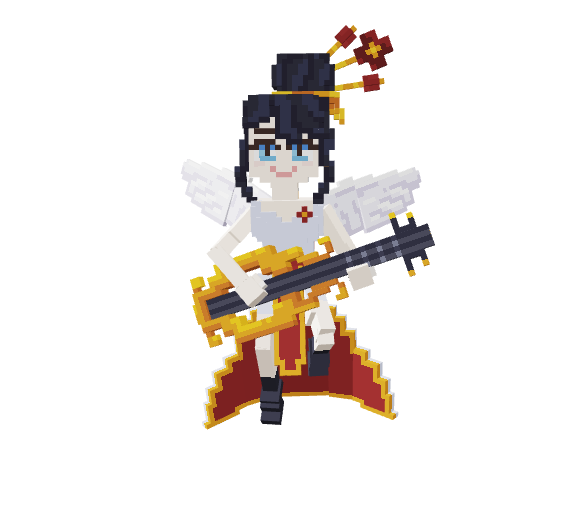
Unlocking a Template
1. Select a Template and Save
Open the template you wish to edit, whether it's Medium Human, Mammal, Bird etc. When prompted to name your project, be sure to give it an obvious name so you can find it in your folders (this is not the file you will edit, but a hierarchy you are saving and may reuse for many projects). Exit the project.
2. Create a New Asset for Your Project
From the VoxEdit home screen, select Animator and then the "Create New Asset" button. This file is the project you'll be creating, so give it a proper name based on what you intend to create.

3. Import the Template's Hierarchy
In the Skeleton Panel, click the ![]() three dots button on the World node to open the menu. Choose "Import Hierarchy (VXR, VOX)." In the window that opens, navigate to the template you previously saved. The Skeleton Panel will now be populated with all of its nodes and the timeline will show all of their motion keyframes.
three dots button on the World node to open the menu. Choose "Import Hierarchy (VXR, VOX)." In the window that opens, navigate to the template you previously saved. The Skeleton Panel will now be populated with all of its nodes and the timeline will show all of their motion keyframes.
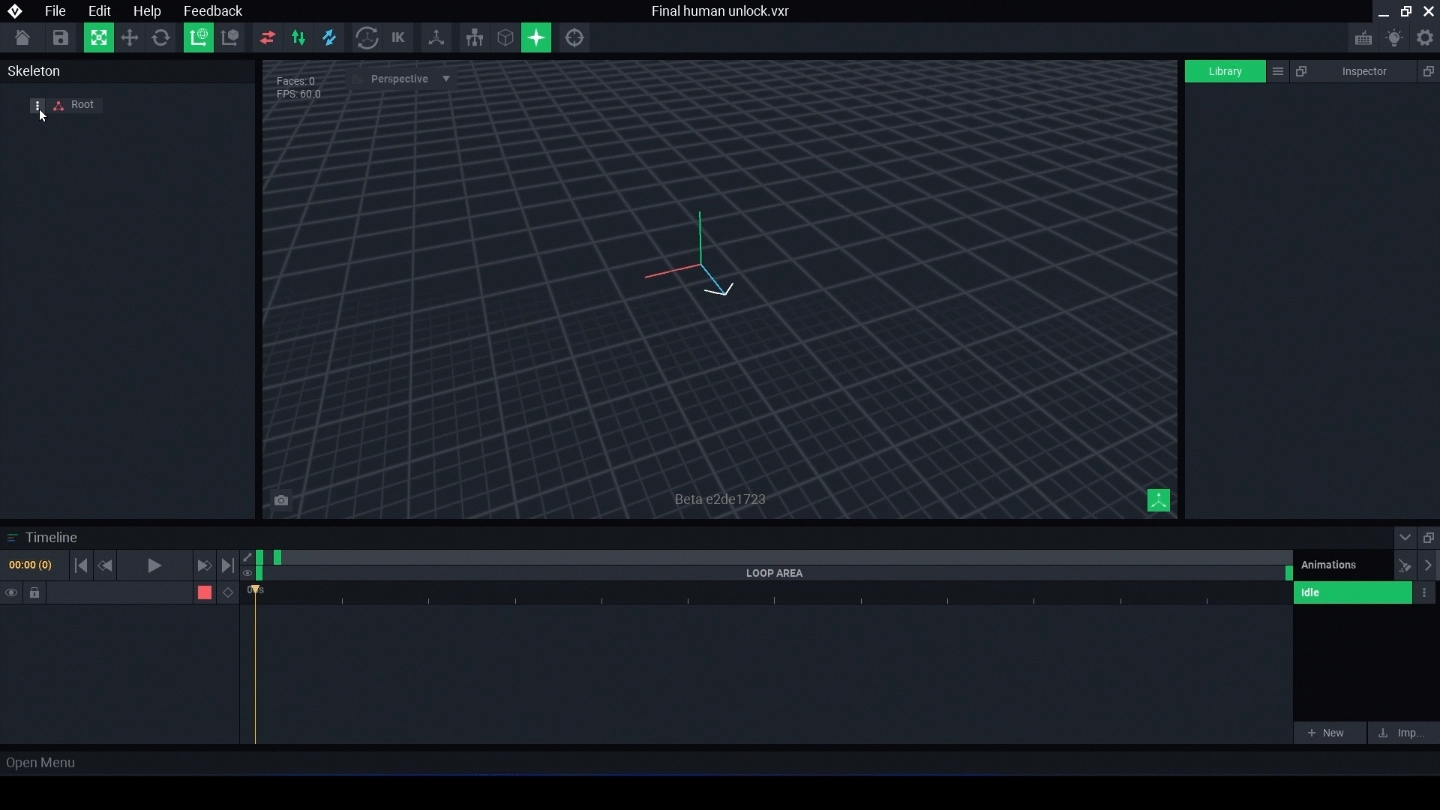
4. Customise As You Wish
You now have a duplicate of a template, but it is completely unlocked to add nodes and animations or edit existing ones.
Keep in mind that every animation listed in the timeline is a different arrangement of the same models used in the Skeleton Panel. Your design may hide models inside of others.
If you change the pivot point of a model, it will adjust position in every animation. Test thoroughly for clipping, z-fighting, gaps, etc.
Last updated
Was this helpful?

