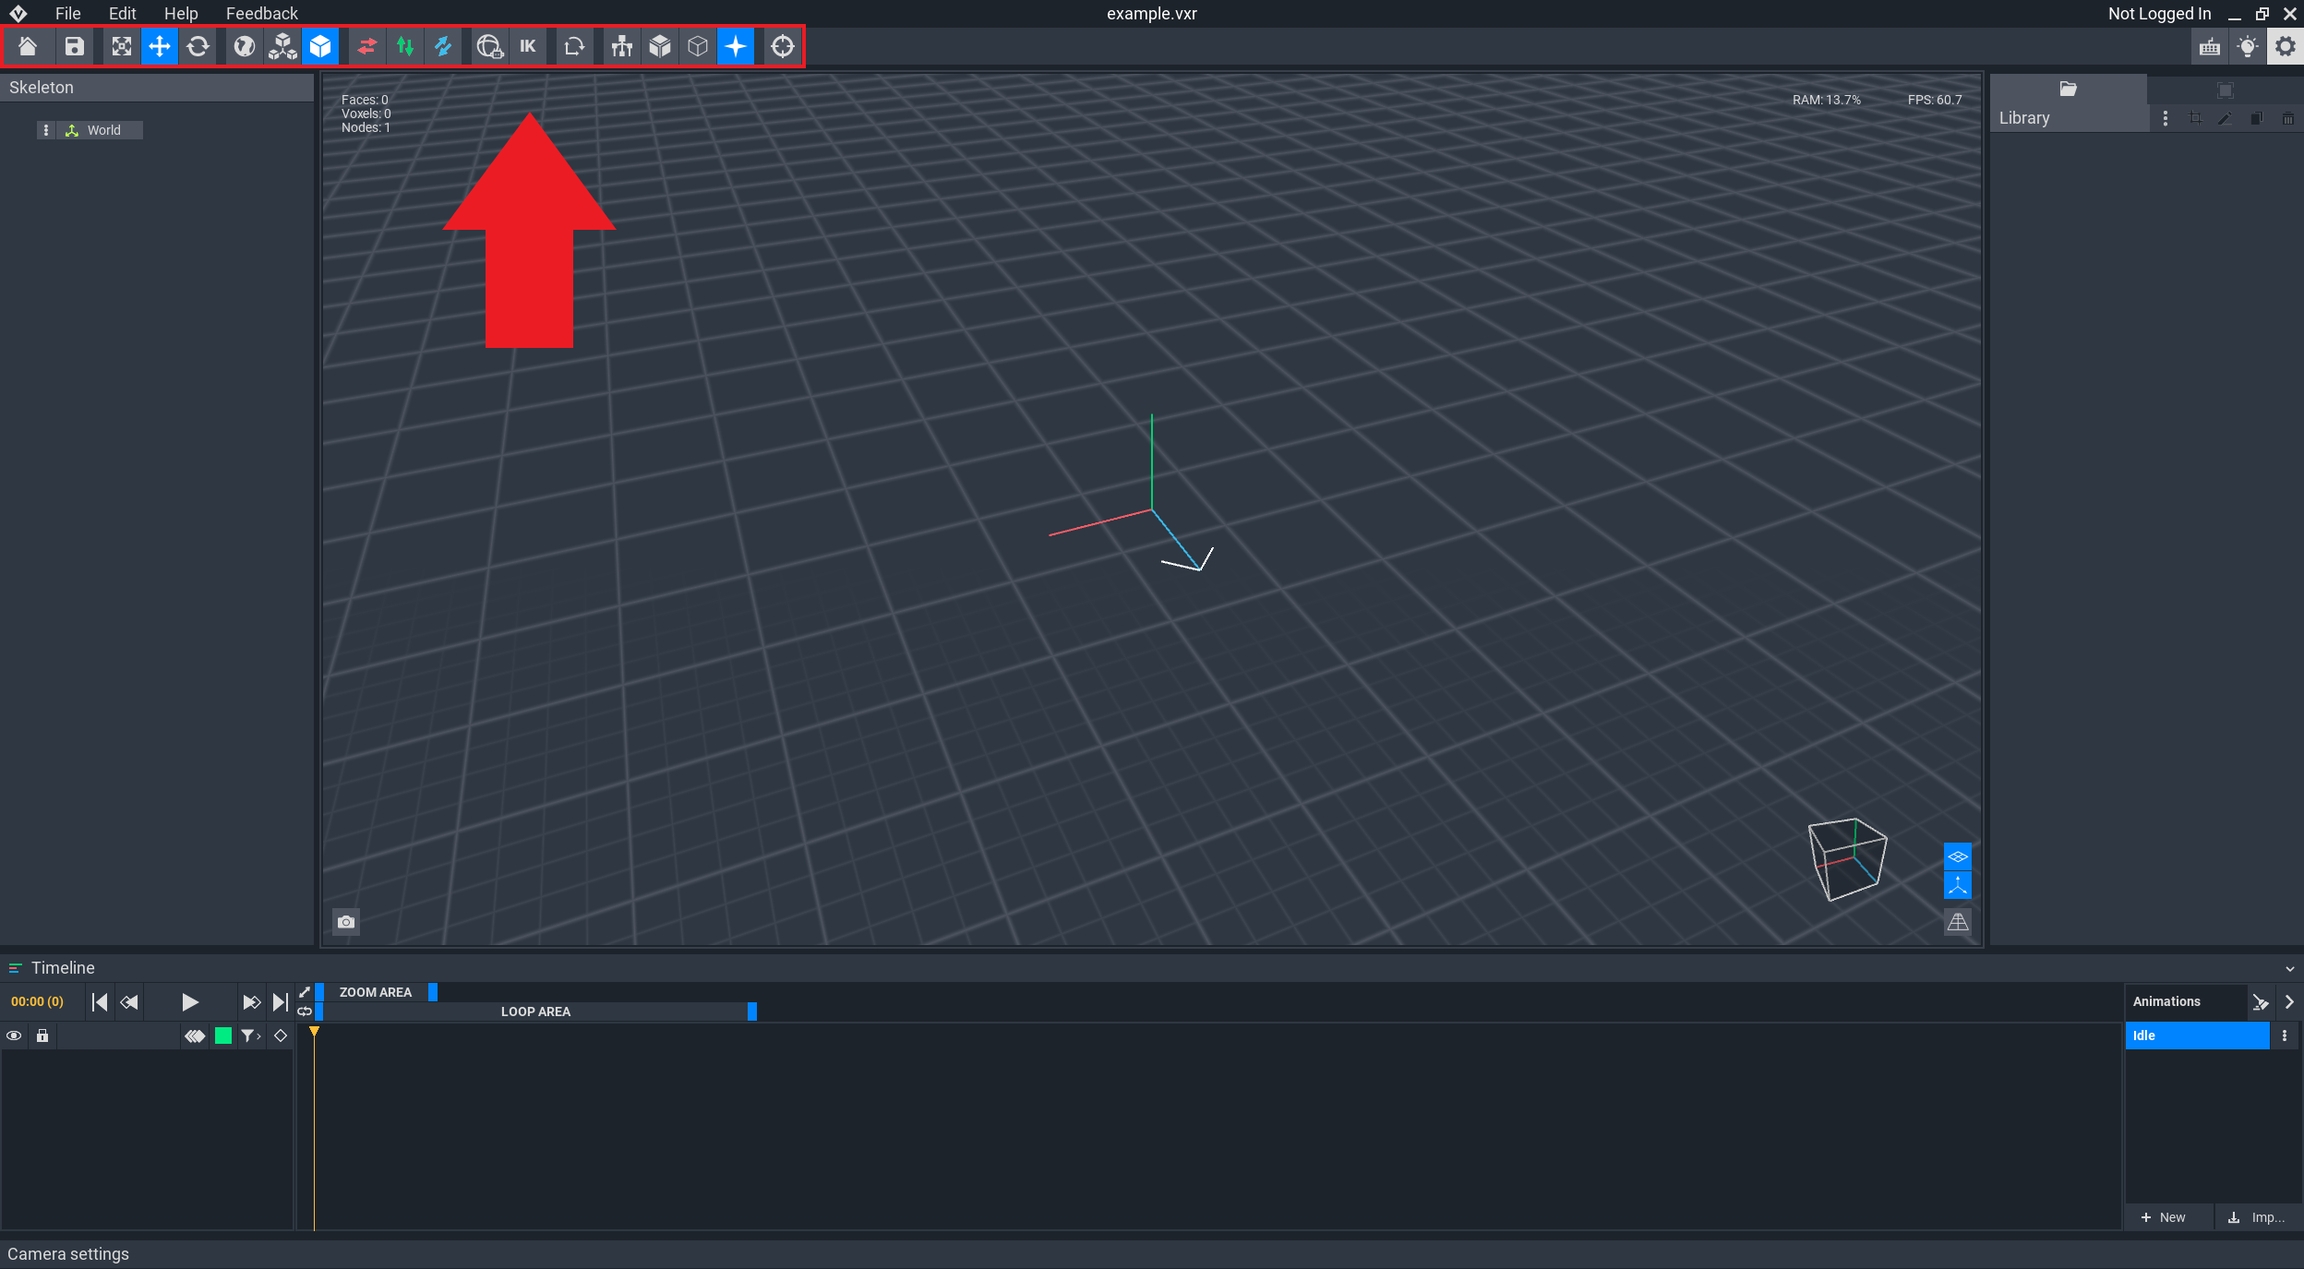
Animator Top Bar
Top Bar Buttons
![]() Select Node (1)
Select Node (1)
![]() Move Node (2)
Move Node (2)
![]() Rotate Node (3)
Rotate Node (3)
 Return
Leave the Modeler and return to the Home screen. You will be prompted to save your work.
 Save
Save
Commit to save changes in your project.
Select and Move Nodes
![]() Select Node (1)
Select nodes of your model.
Select Node (1)
Select nodes of your model.
![]() Move Node (2)
Change the position of the selected node along the X, Y, and Z-axis.
Move Node (2)
Change the position of the selected node along the X, Y, and Z-axis.
![]() Rotate Node (3)
Change the orientation of the selected node along the X, Y, and Z-axis.
Rotate Node (3)
Change the orientation of the selected node along the X, Y, and Z-axis.
Translation Frame of Reference
![]() World
Set the world as the translation frame of reference.
World
Set the world as the translation frame of reference.
![]() Parent
Set the parent as the translation frame of reference.
Parent
Set the parent as the translation frame of reference.
![]() Object
Set the object as the translation frame of reference.
Object
Set the object as the translation frame of reference.
Flip
![]() Flip X
Flip X
Flip rig and models to a mirrored position along the X axis.
![]() Flip Y
Flip Y
Flip rig and models to a mirrored position along the Y axis.
![]() Flip Z
Flip Z
Flip rig and models to a mirrored position along the Z axis.
Assist
![]() AutoSLERP
Enable/Disable AutoSLERP.
AutoSLERP
Enable/Disable AutoSLERP.
![]() Inverse Kinematics
Inverse Kinematics
Enable/Disable Inverse Kinematics.
What is Inverse Kinematics?
This is a time saving tool for posing a rig when you need to focus first on the position of a child node before adjusting its parent node.
When it is not active, parent nodes control movement of their child node(s), their child node(s), etc., so IK reverses this relationship using intuitive movements.
IK settings are modified in the Inspector Panel.
IK Enabled - adjusting the position or rotation of a child node influences the position and rotation of the parents it is attached to.
IK Disabled - the parent-child relationship behaves normally, where a parent node influences all of the child nodes attached to it (known as Forward Kinematics, or FK).
Example:
If you're creating a new pose or animation of a human NPC (non-player character) and want to move a hand, you intuitively know where the destination of the hand should be, and getting it right is important since it can make your asset more expressive.
With IK enabled, moving the hand pulls the parent nodes with it (which contain the forearm, upper arm, and shoulders). If IK were disabled, you would need to start instead by moving the shoulders, then the upper arm, then the forearm, and finally the hand, and it would likely take many adjustments to get the hand in what feels naturally like the right location.
Reset Alignment
![]() Align to Axis
Align to Axis
Reset scene transformations. This aligns the rig to the closest axis at a right angle.
Views
![]() Show/Hide Rig
Show/Hide Rig
Toggle visibility of the rig skeleton. This will show or hide the underlying connections from one node to another, with lines that are thicker at the parent node and thinner at the child node.
![]() Show/Hide Node Bounding Boxes
Toggle visibility of node(s) bounding boxes. This helps visualise the bounding boxes of each model that is attached to each node in your rig.
Show/Hide Node Bounding Boxes
Toggle visibility of node(s) bounding boxes. This helps visualise the bounding boxes of each model that is attached to each node in your rig.
If a bounding box is larger than the visible model, we advise to open it and trim the volume so your compound or animated entity will have a tighter collision boundary.
![]() Toggle Emissivity
Toggle brightness of glowing colours with bloom. When disabled, the glow from emissive colours used in your rig's models will not be visible.
Toggle Emissivity
Toggle brightness of glowing colours with bloom. When disabled, the glow from emissive colours used in your rig's models will not be visible.
![]() Model Check
Toggling on model check will colour each model a different block colour, to allow users to see if there is any overlapping and z-fighting issues.
Model Check
Toggling on model check will colour each model a different block colour, to allow users to see if there is any overlapping and z-fighting issues.
Reset View
![]() Reset View
Move view to the default start position (0, 0, 0) at the centre of the viewport.
Reset View
Move view to the default start position (0, 0, 0) at the centre of the viewport.
Last updated
Was this helpful?