Using Blocks
Blocks form the terrain of your experience with a variety of textures and transparencies.
Block Properties

Size
Blocks are the terrain in The Sandbox Game, including solids and liquids.
Each block is 32 x 32 x 32 voxels. This equals 1 x 1 x 1 metres in the real world.
Collisions
Currently, only the player's Avatar can walk on the surface of objects.
Blocks are either solid or liquid.
An object with a behaviour that includes walking can walk up or down 1 block at a time.
Avatars can swim in liquid blocks 2 or more blocks deep if swimming is enabled in Parameters.
Blocks must exist in an Experience to place Assets (snapping to blocks), but may be removed after.
Blocks are not affected by gravity or physics.
To create a game with "blocks" players can pick up or destroy individually, create a 32x32x32 voxel asset. The asset can represent a solid block with no transparency.
Logic
You can't apply logic to blocks, but you can apply logic to assets placed in your Experience to add or remove blocks that are nearby.
Void Behaviour allows you to remove specified blocks in a defined area.
Multi Behaviour allows you to add a 3x3 or larger group of specified blocks in a defined area.
Block Variations
In VoxEdit's Modeler, voxels can be painted with normal or emissive (glowing) colours.
Block settings (when Uploading to Workspace) include:
Solid or Liquid collisions (if liquid, an animation is applied)
Transparency in increments of 20 0% transparency is opaque, and 100% transparency is nearly invisible
LIQUID - NO TRANSPARENCY
Types: Deep water, lava, chocolate, etc. Uses: Waterfalls, damaging lava, etc. Defaults: - Wave animation (top) - Falling animation (sides) No Collisions Tips: - Enable/Disable Swim - For liquids that should not animate, such as still water, use one colour on the block
LIQUID - WITH TRANSPARENCY
Types: Water, fog (if swimming disabled) Uses: Visibility for underwater exploration or looking into water from outside of it Defaults: - Wave animation (top) - Falling animation (sides) - Transparency (increments of 20) set by block creator when upload to Workspace No Collisions Tips: For liquids that should not animate, such as still water, use one colour on the block
SOLID - NO TRANSPARENCY Types: Solid colours to detailed textures Uses: Ground, rocks, concrete/asphalt, walls, carpets, tiles, etc. Defaults: No shine or animation Collisions Tips: Use texturing to create shine details per block when creating it since there is no shine effect on 0 transparency blocks
SOLID - WITH TRANSPARENCY Types: Glass, ice, etc. Uses: Visibility to other areas, yet a physical barrier Defaults: The game engine applies a shine Collisions Tips: Default shine effect appears across all blocks of this type as players move
Access Blocks

Place and Remove Blocks
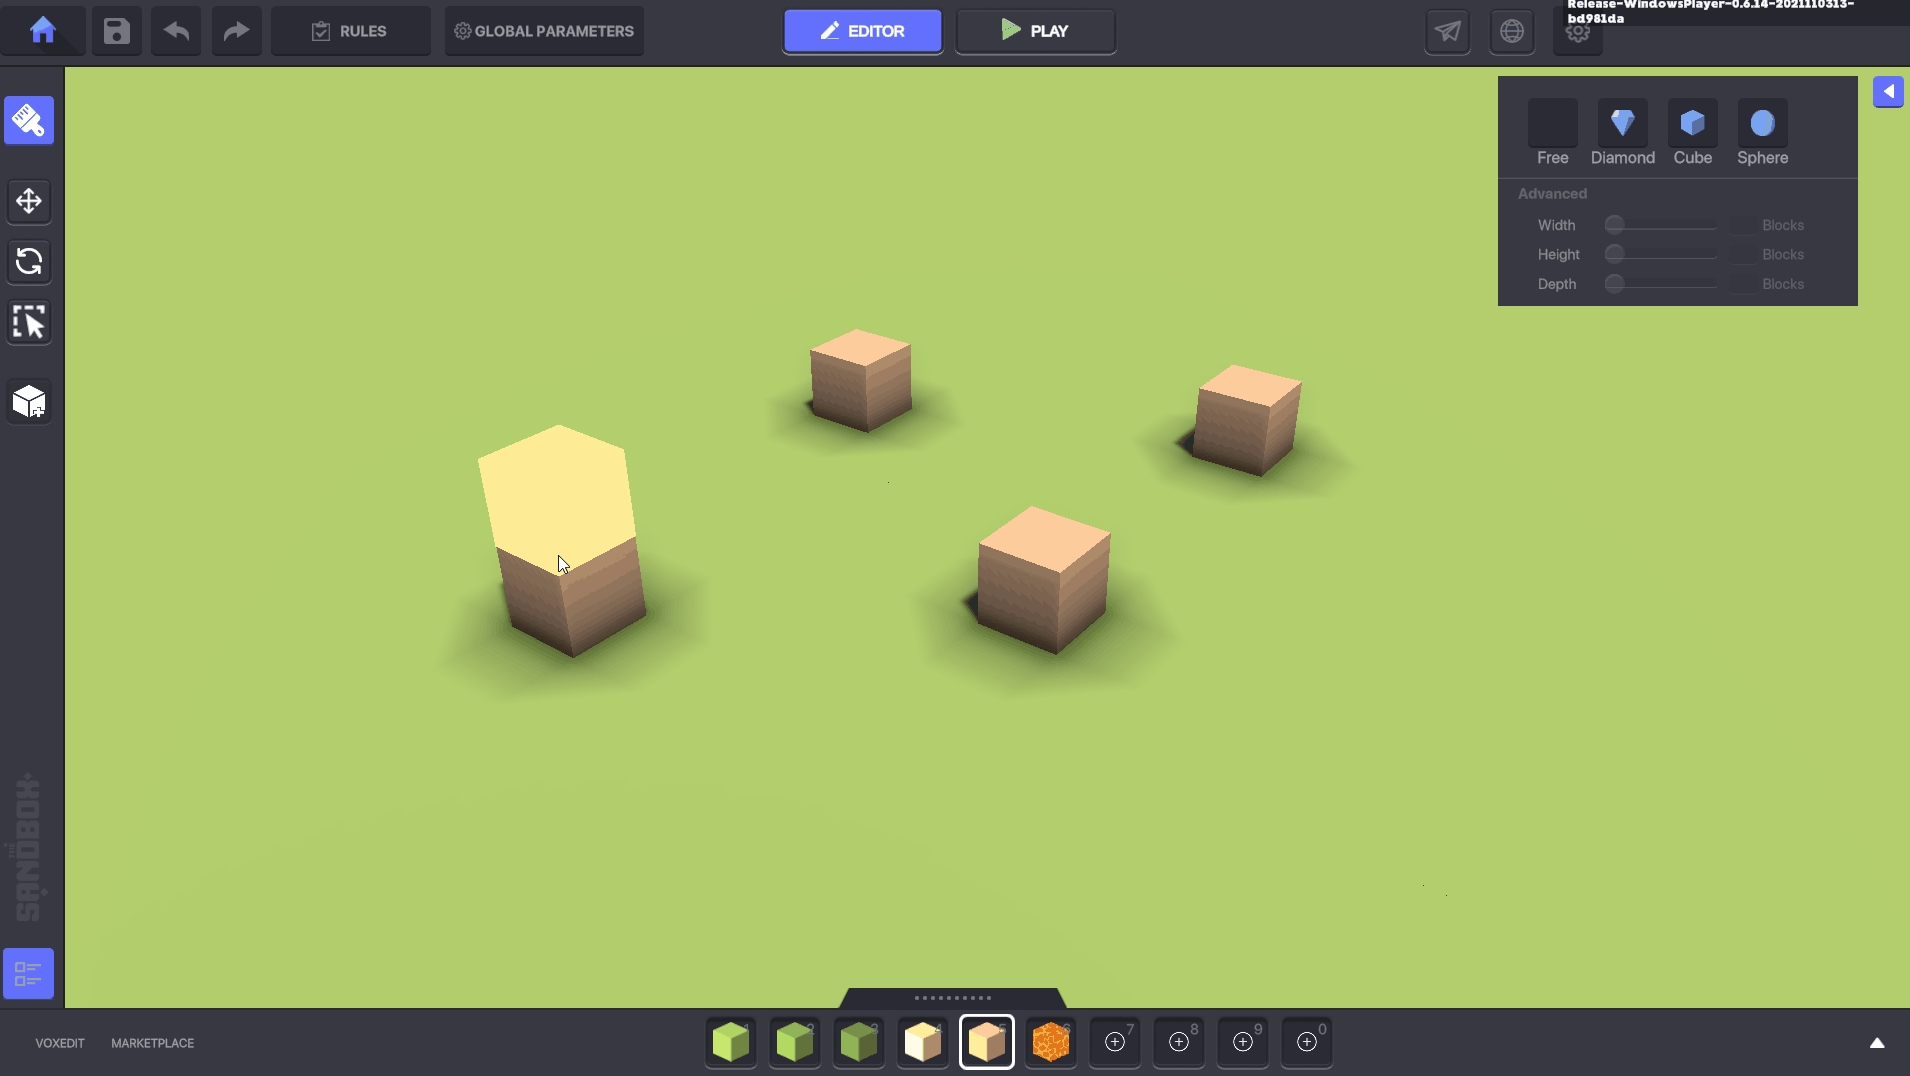
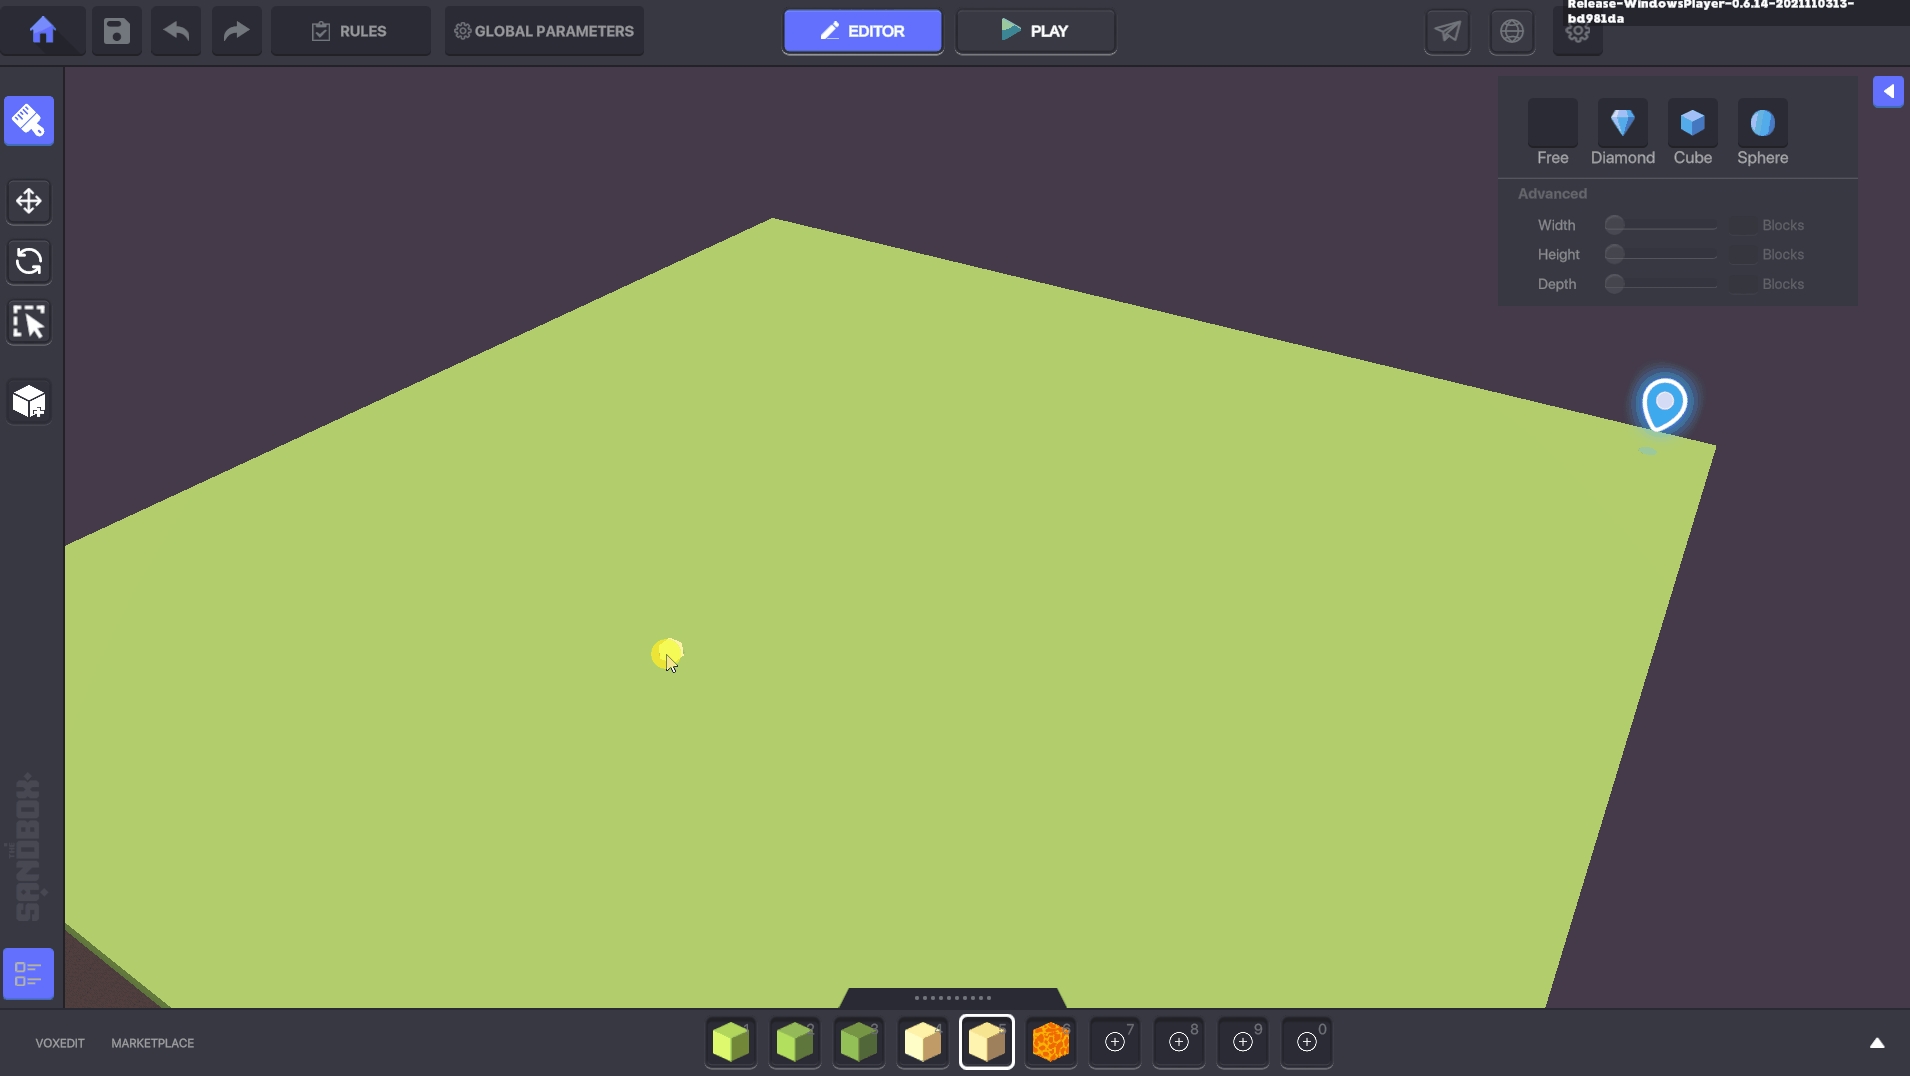
After you select a Block from the Toolbar or the Library, your cursor will switch to Brush Mode ![]() and display additional brush options in the top right corner of the screen.
and display additional brush options in the top right corner of the screen.
A block must be selected from the Library to perform the actions below in Brush Mode.
The Brush Mode works based on the location of the mouse cursor to allow you to build easily in 3 dimensions.
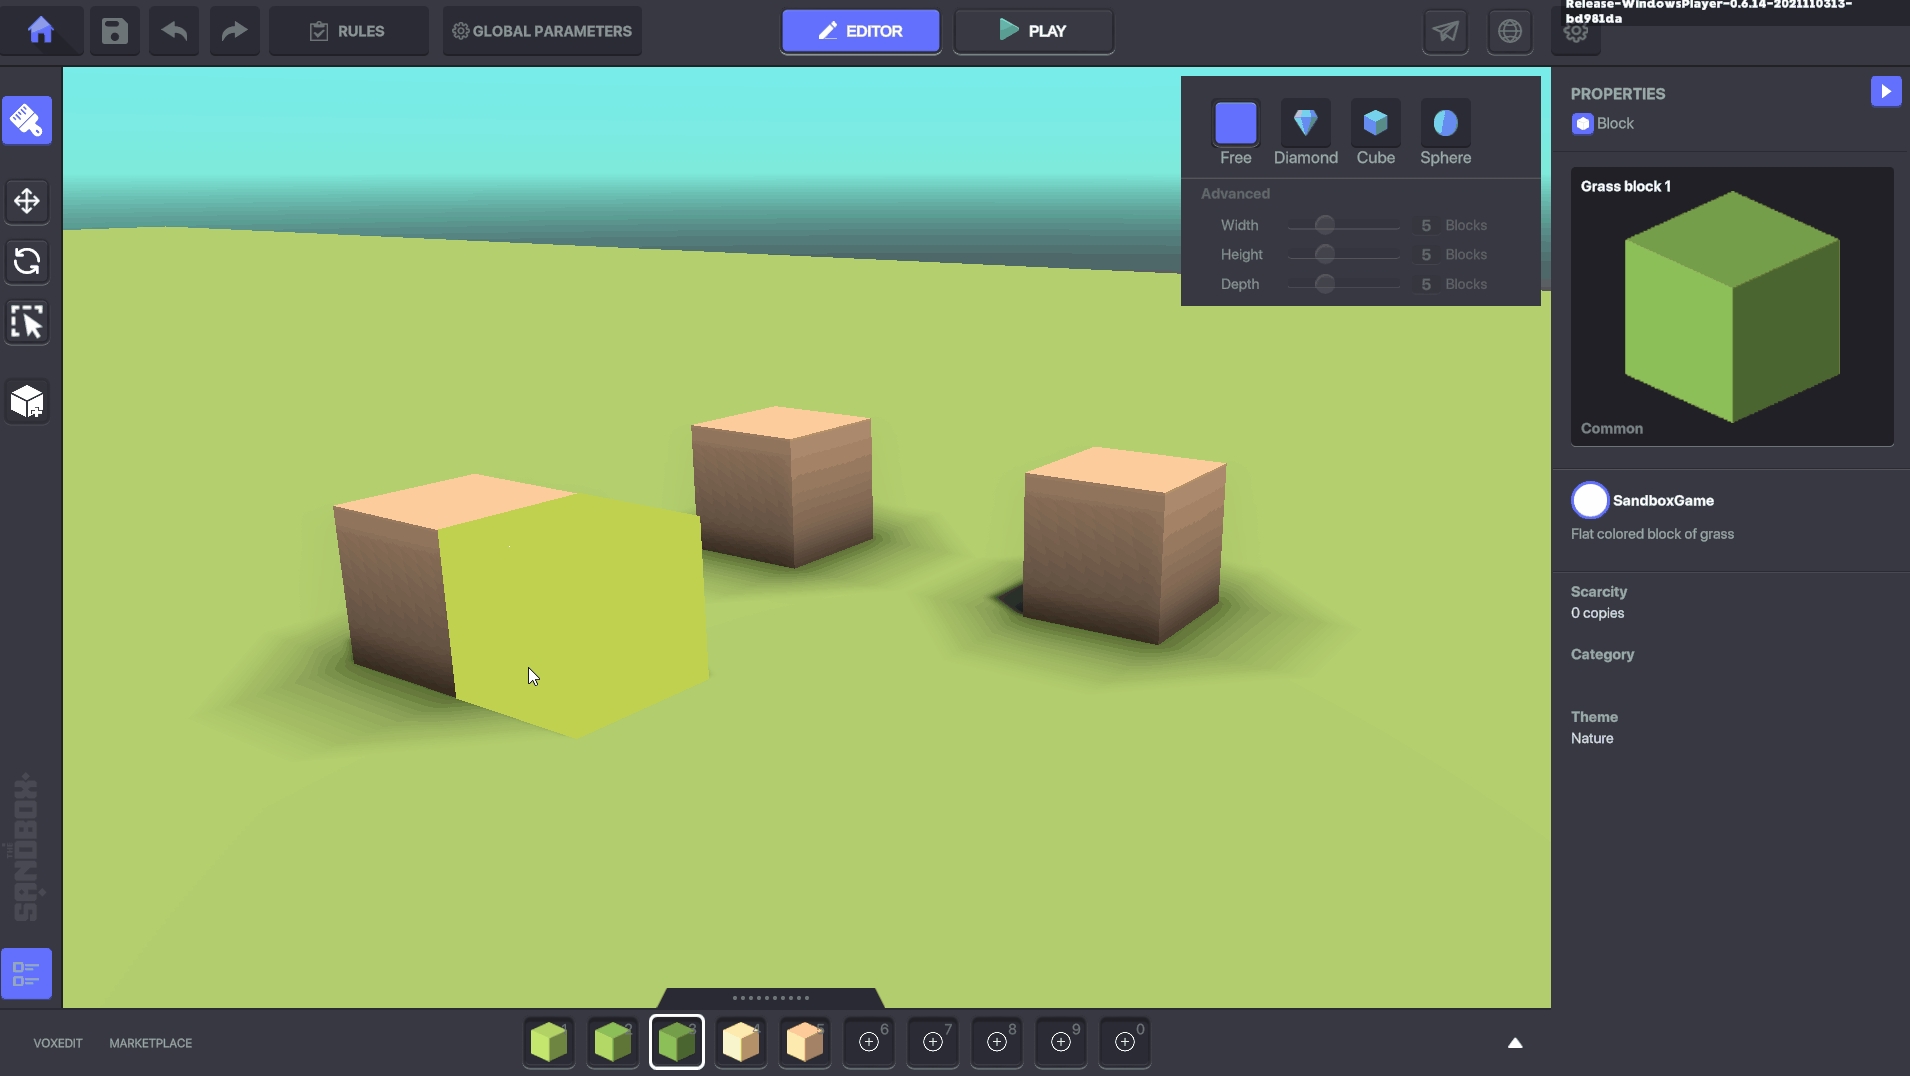
Move the cursor to touch the surface of an existing block that you want to add to, remove from, or replace.

Left Click to place a single Block.
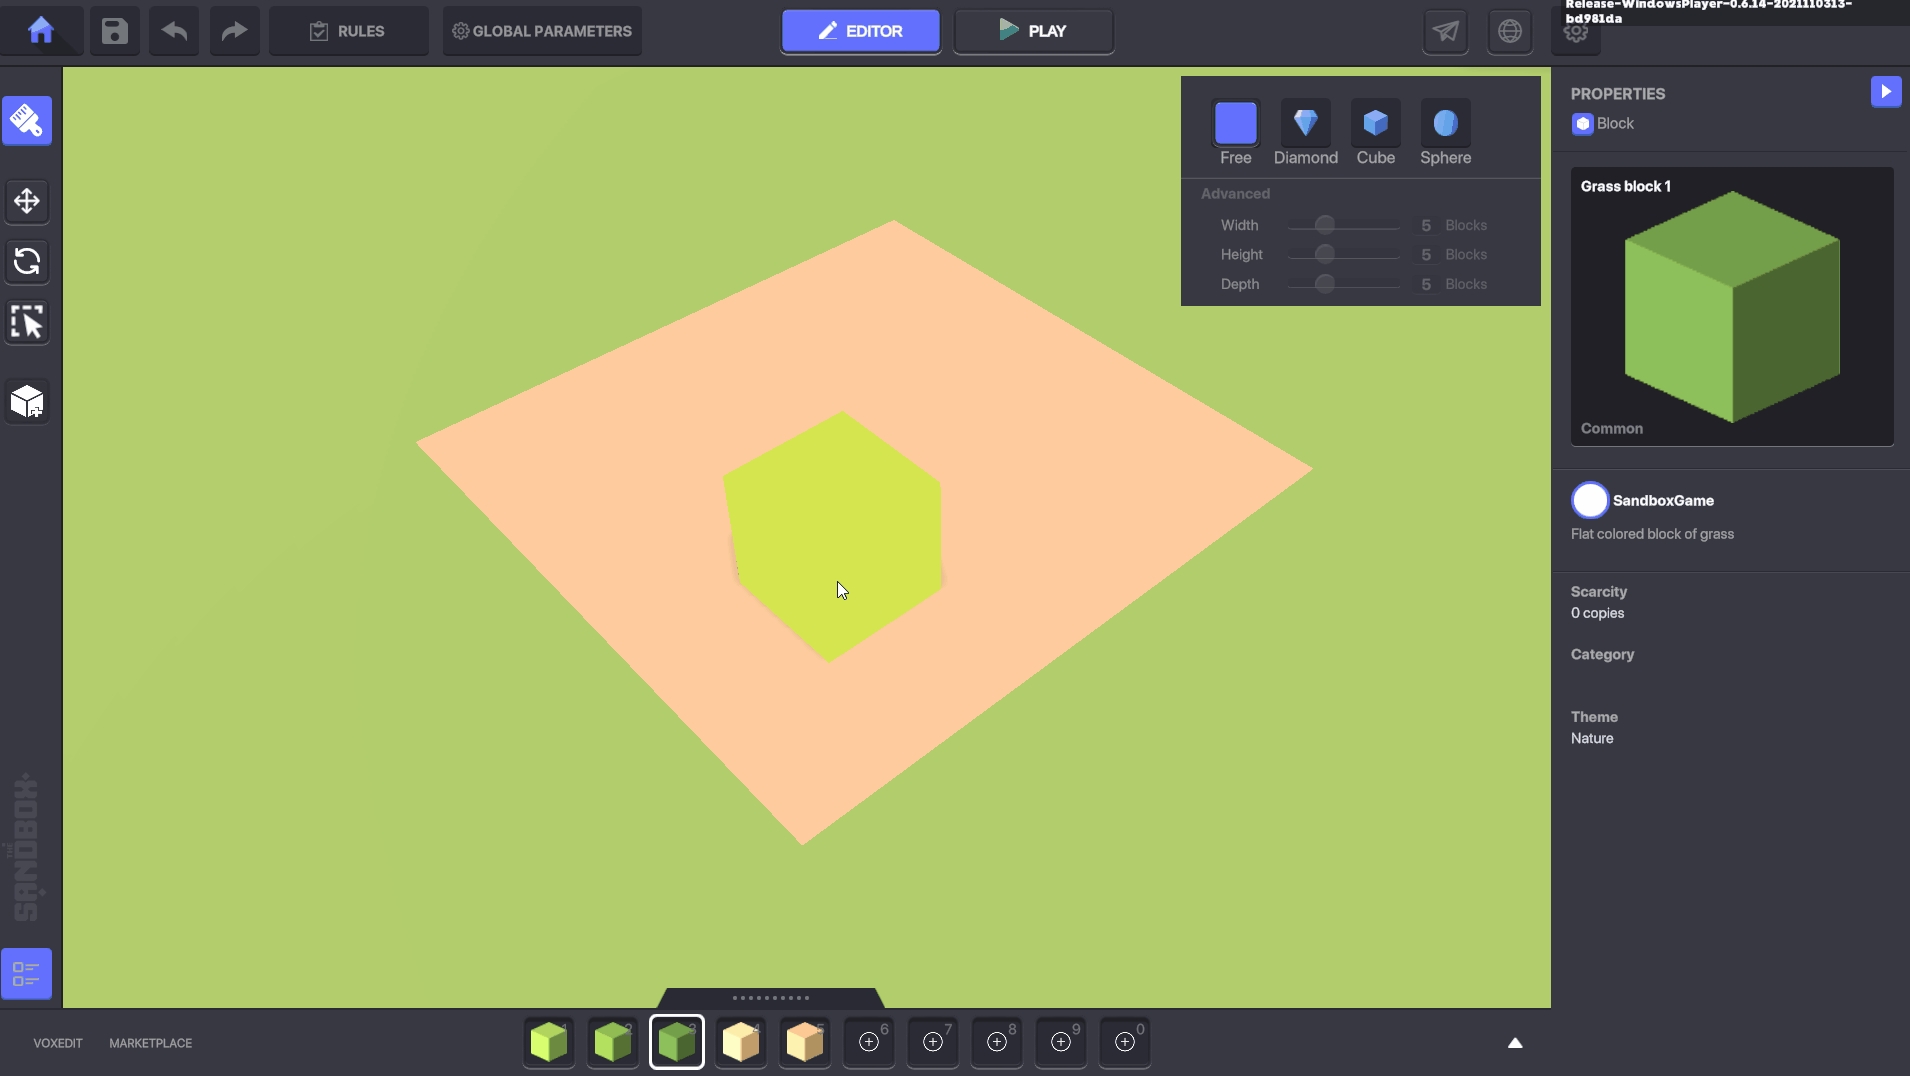
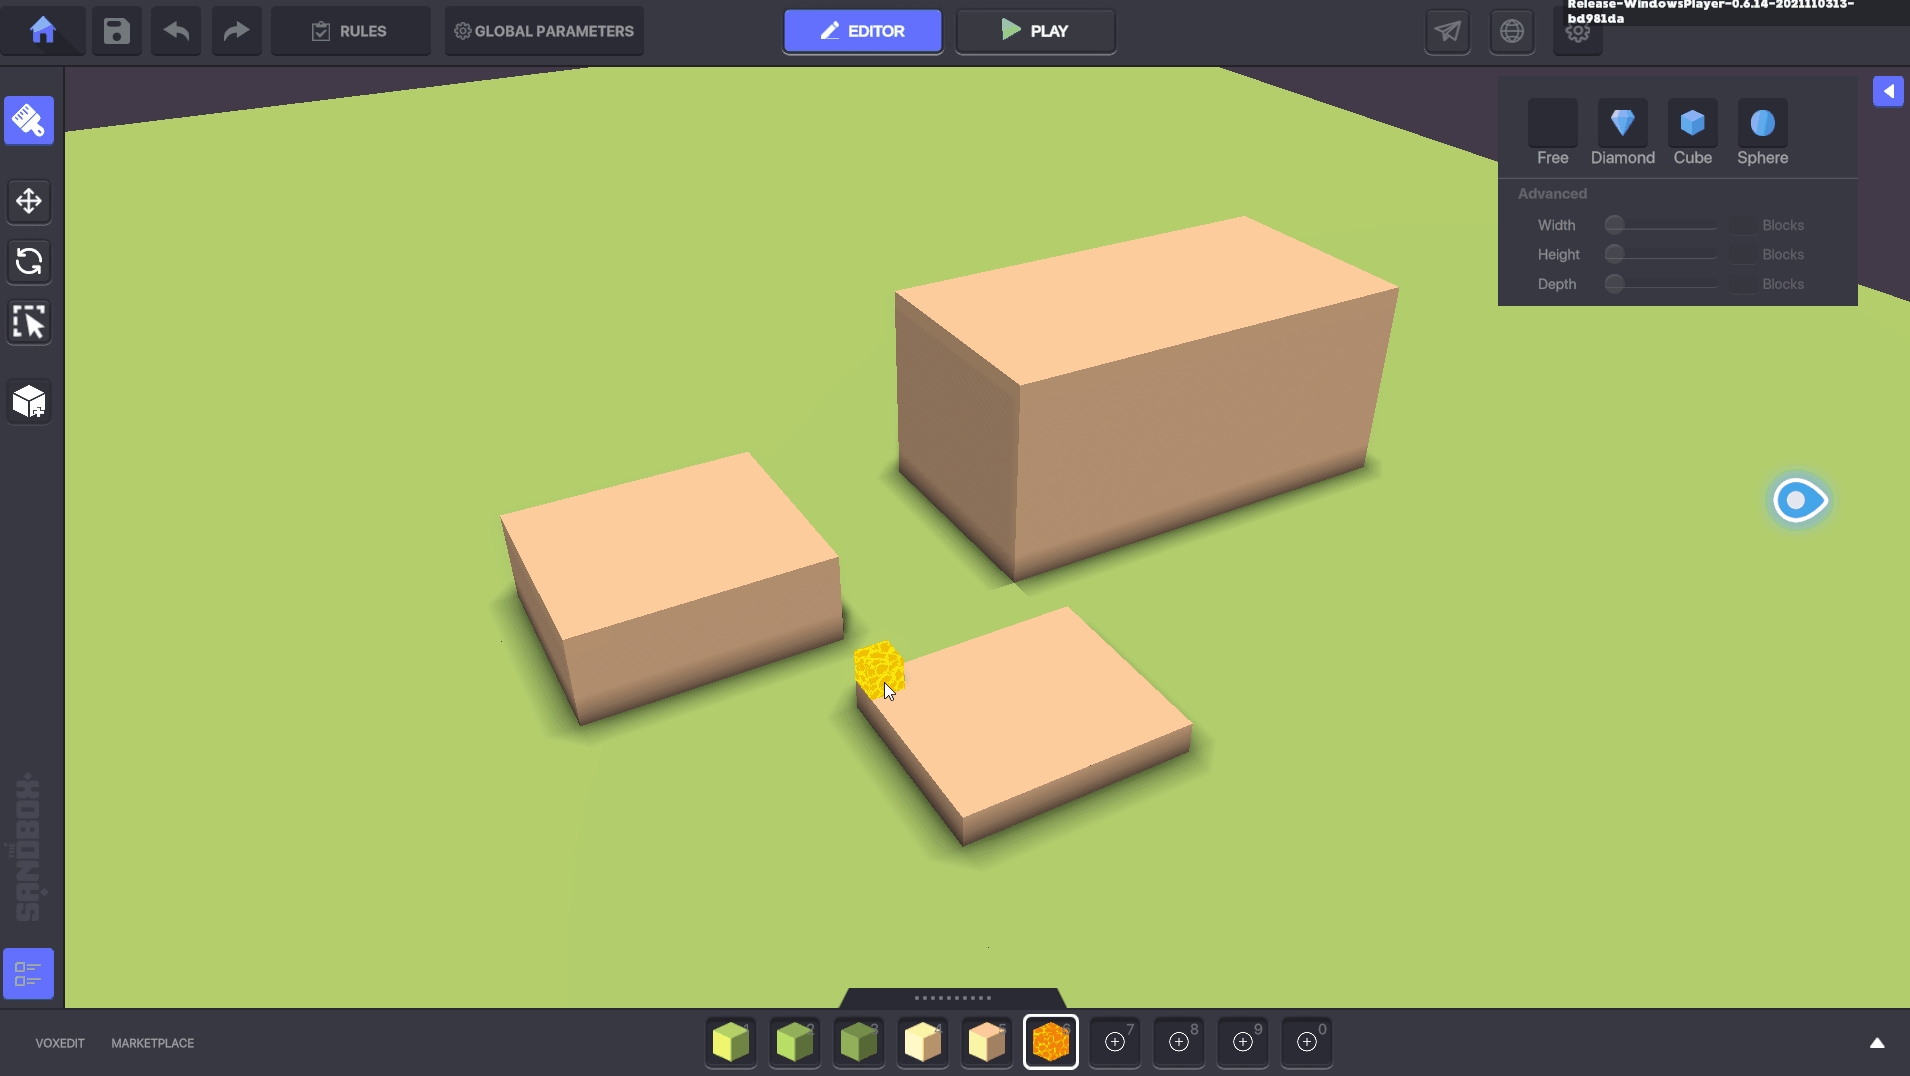
To place blocks over a larger rectangular area, hold the Left Mouse Button, drag, and release.
Brush Tools to Vary Shape
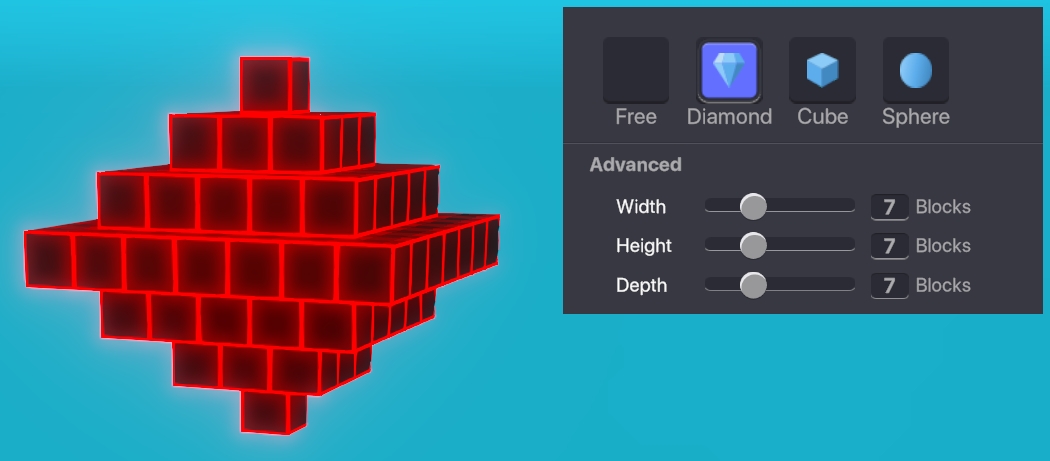
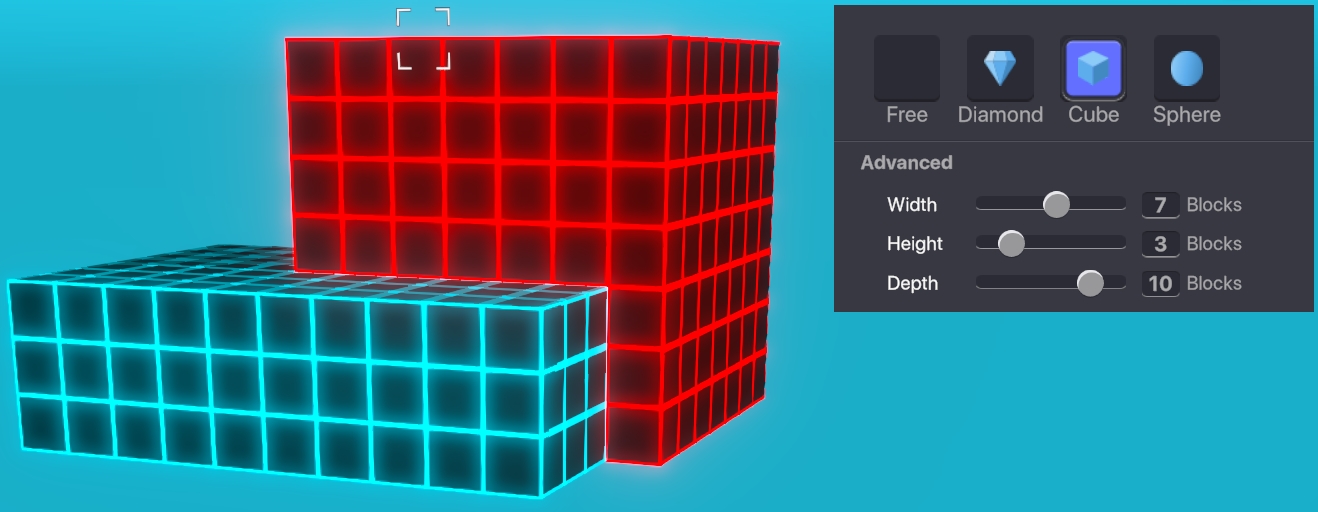
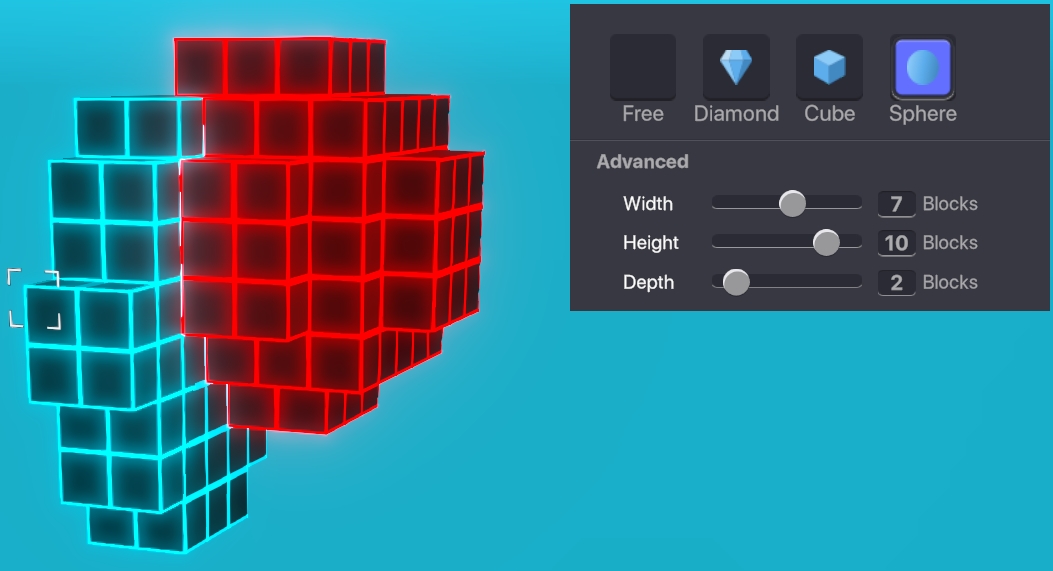
The position of the mouse cursor is relative to the center of the brush shape when you place, remove, or replace.
Free is the default brush, demonstrated in the above examples, which allows you to place blocks as small as a single cube or over a larger area by clicking and dragging a selection.
Last updated
Was this helpful?


