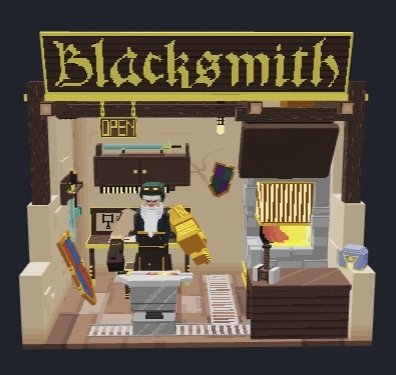
Animated Building: No Entry
Types
Animated Entity - Animator
🟡 Medium
ABOUT
Models positioned and rotated to create an angled roof or other relevant details
Motion adds emphasis and brings the asset to life (e.g., shop keepers, window displays, flags, flashing signs, etc)
PROS
Visually interesting, adds character
Players focus on quests if simple
CONS
Decoration only
Fast or flashy animated details may distract players from quests
Optimisation is important since structure assets may be used frequently in one Experience by level designers
Notes
Keep animation simple for performance and compact for a realistic collision boundary.
Add 2D texture and some 3D depth, but keep in mind this type of asset is usually lower priority in the visual hierarchy of an Experience unless it is important to the story.
Recommended Workflow
Create a new project in the Animator and add a Control node in the skeleton on the left.
Create a new VXM in the Library and open it in the Modeler.
Create a 3D "sketch" of your Asset as this Model. Modify the collision boundary, create your asset, adjust the pivot point, and trim the volume. Save and exit the Model, then drag and drop it into the node you created.
Use the "sketch" Model to guide the shape of your rig. You can select voxels and choose "Save Selected Voxels" from the Edit menu to create new Models or create new ones in the Library. Trim, adjust the pivot point, and position Models you create into a skeleton of nodes in the Animator. Keep the total faces below 5,000 and nodes below 175.
You can create multiple animations for your Asset. Depending on the details you've added, you will want to pose the models you've created in different ways and make any necessary adjustments to their shape to fit the animation plans you have in mind.
Once all models are in position, create motion keyframes for each animation you want built into your Asset. Keep in mind that shorter animations are best for performance during gameplay, but longer ones are possible for special uses.
QUALITY & PERFORMANCE
Follow Quality Guidelines to make the best version of your Asset.
Last updated
Was this helpful?


